How To Help Your Students Draw (When You Can't Draw)
Disclaimer: This post contains affiliate links which will reward me monetarily when you use them but it comes from Amazon’s pocket - not yours! For more info, read my full disclaimer. Baby June and I thank you for supporting our small business.
(Disclaimer: This post contains affiliate links. I may earn a small commission if you use these links to make a purchase. You will not be charged extra.)
Student: "I can't draw that."
Me: “Sorry bud, me neither.” 😩
I mean honestly, is there a worse feeling as a teacher?
It took me 6 years to figure out how to teach my young students how to draw, because, I’m not kidding when I say, I can't draw.
I would try to draw something simple for my students, like a dog or a cat…
They would look at it and straight up tell me, "That’s not a dog." 😣😂
How could I help kids who say, "I don't know how to draw that" — When I didn't know how to draw that, either.
Seems impossible, right?
NOT ANY MORE.
Finally, I figured out… there is a way.
After I struggled with this for so long, I am so happy to finally share the solution with you…
Here we go…
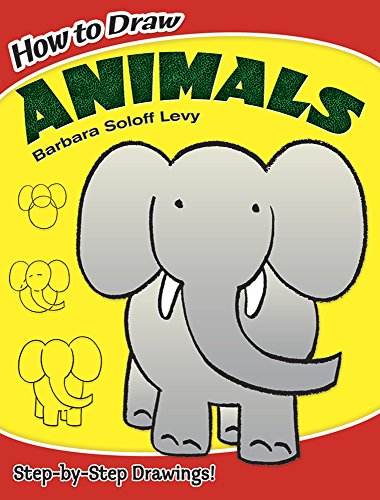
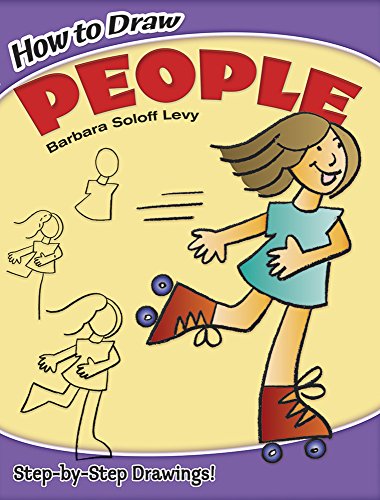
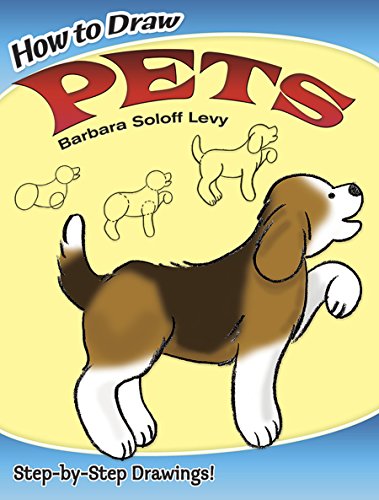
Step 1 — Buy this book:


Step 2 — Make copies of the pages and shrink them down into smaller sizes.
I like to display them in a pocket chart like this:

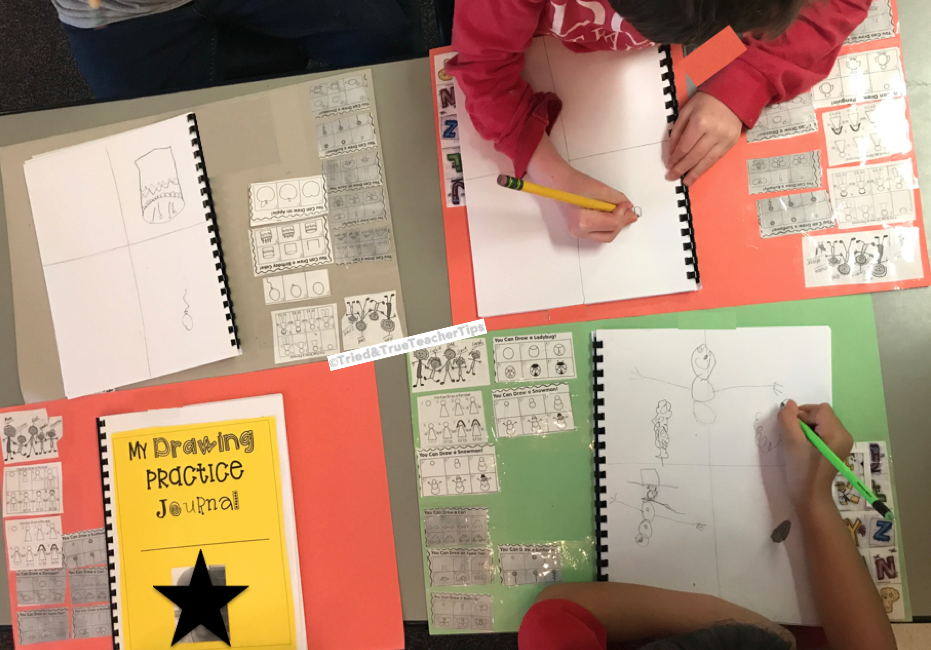
Step 3 — Make Drawing Journals

Drawing Journals is just a fancy name for white paper that we binded together.
(If you don’t have a book binding machine just staple them!)
(Disclaimer: This is an affiliate link. I may earn a small commission if you use these links to make a purchase. You will not be charged extra.)I made a simple template by drawing one line down and one line across the paper, which created 4 boxes.
(The step by step guides show how to draw the images in a box so having one on their paper makes it easier for the kids to visualize where to start drawing.)
The pages look like this:

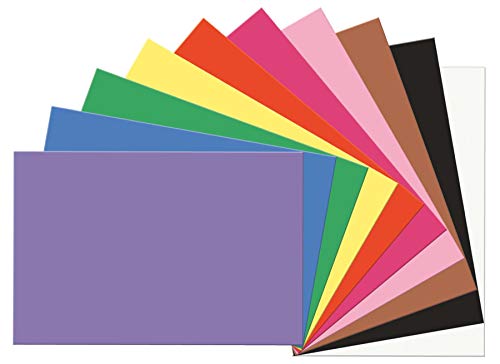
Step 4 — Make Drawing Support Place-mats for each student.

Drawing Support Placemat is just a fancy name for 12x18 construction paper.
So, when you put them together, here’s the setup:

I personalize each child’s drawing placemat by adding:
a photo of them with their name clearly written below it so they can easily add their name to their drawing whenever they draw themselves.
a copy of our class list so they can reference how to spell their friend’s names
and finally, a little “clip-art family” in the top left corner that accurately represents each child’s family.
Here’s an example of the little clip-art family (top left of photo):

Each one is crafted to fit that child’s specific family setup.
Usually whoever they live with. (Parents, siblings, dogs or cats grandparents and anyone else their family may include.)
This is an easy way to get to know your families and ensure correct spelling.
SO YOU CAN AVOID THIS:
A kid is explaining their drawing to you so you can add some captions… but you have NO IDEA what they are saying, no matter how many times you ask them to repeat it.
Then it finally comes time for the family to see it… and they awkwardly ask:
“What does this say? Spanky? Who is Spanky?”
“He told me your dog’s name is Spanky.” 😐
“Our dog’s name is Pansy.” 😬
😣OOOOHHH boy, if you haven’t been there… I hope this can save you from ever having to go there.
I’ve created a FREE TEMPLATE and FAMILY LETTER you can send home for your families to fill in their family tree.
Then you can just put these into the journals so they are easy to refer to when students are drawing.
It looks like this:

It’s SO worth it… so you can avoid this:
Scenario WITHOUT Family Tree:
“Oh Liz, you’re drawing your brother? Um, ok… what’s your brother’s name again?”
(blank stares)
“Amy, do you know what Liz’s brother’s name is? Is it Alex? Is it Timmy? Does anyone here at this table know what Liz’s brother’s name is?”
Random kids start throwing things out there, “Liz doesn’t have a brother… No, Liz has 3 brothers.”😞
Scenario WITH Family Tree:
“Oh Liz, you’re drawing your brother… here’s let’s look at your family tree. Your brother’s name is right here, Elijah… you spell it like this.”)
So.
Much.
Better.
So now that you have everything you need, here’s what to do next:
I mount two pocket charts with pictures on cabinets or walls or shelves near the tables we will be doing our journals. That way, a few kids can access them at the same time.
You could also just have a bunch of them on a tray in the middle of the table.
I like to highlight the word on each of them so the kids can copy the word under their drawing when they are ready for that next step.

(I don’t point it out for the kids to even attempt if they are still working on following the step-by-step drawings concept, but it’s a great way to challenge the kids who get the drawing down and are ready for an extra challenge.)
Similarly, if you have kids who are not ready for the challenge of drawing the pictures, you can create a few differentiated supports for them to practice drawing right on their drawing placemat.
I just used some basic pre-writing strokes.

Once they get those down, they can start picking from the other ones.
Students love having the freedom to choose the pics they want!
I have them pick out a few ahead of time and I use packing tape to secure them down, so they are ready for them when it’s time to start drawing practice.
Then, as they finish those, they can pick a few more and you can add them while the other kids are working.
I had the most success designating a specific chunk of time to this activity.
The first time we tried it, the kids kept wanting to get up and say they were all done, which was a little chaotic.
But we put a few simple procedures in place and it wasn’t long before the whole class would be working on their drawings for 30 minutes!
They just knew to raise their hand if they needed new pictures but I also encouraged them to draw the ones on their place-mat more than once. We talked about how every time you draw it, you get a little better AND it gets a little easier.
Check out my Instagram post here about the POWER OF PRACTICE.

This activity is easy to differentiate AND my kids became far better illustrators than me ALMOST INSTANTLY.
They enjoyed following the step by step drawing model.
We practiced a few times whole group and they figured it out right away!
FREE DOWNLOAD LETTER CARDS!
I threw a copy of the Leapfrog Alphabet onto our Drawing Placemats so my students could practice sounding out the letters in the things they draw so they can add letter labels. (See photo below)

Click here for the free download link!!

Here are other great books I use in my drawing supports collection:

*BONUS TIP:
If there’s a specific image you want a step-by-step drawing guide for, just google: Step by step drawing ___ ( whatever it is) for kids
Check it out:

And, Drawing Journals aren’t the only thing we do with our Step By Step drawing supports…
Here are some more fun ways to use them:

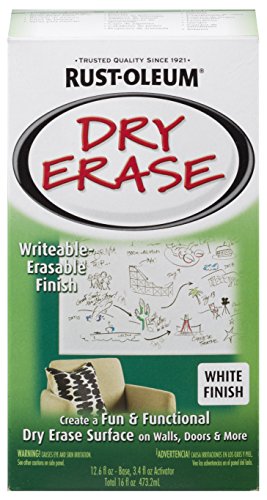
Dry Erase Paint turns the wall into a DRY ERASE BOARD!

Get some to start transforming walls in your classroom today!
***You can also paint cabinets!!!!

We used these small bright pieces of paper that they drew on to fill in empty spaces in their scrapbooks! They looked so awesome!