DIY Light Table Color Mixing & Nature Slides for Preschool

Disclaimer: As an Amazon Associate, I earn from qualifying purchases. This post contains affiliate links which will reward me monetarily when you use them but it comes from Amazon’s pocket - not yours! For more info, read my full disclaimer. Baby June and I thank you for supporting our small business.
This post is for you, if you’re:
-looking for ways to amp up your light table play.
-trying to find a fun way to teach your kids about color mixing.
-excited about bring nature into the classroom!
-considering making your own DIY light table (keep reading all the way to the end for a very clear recommendation!)

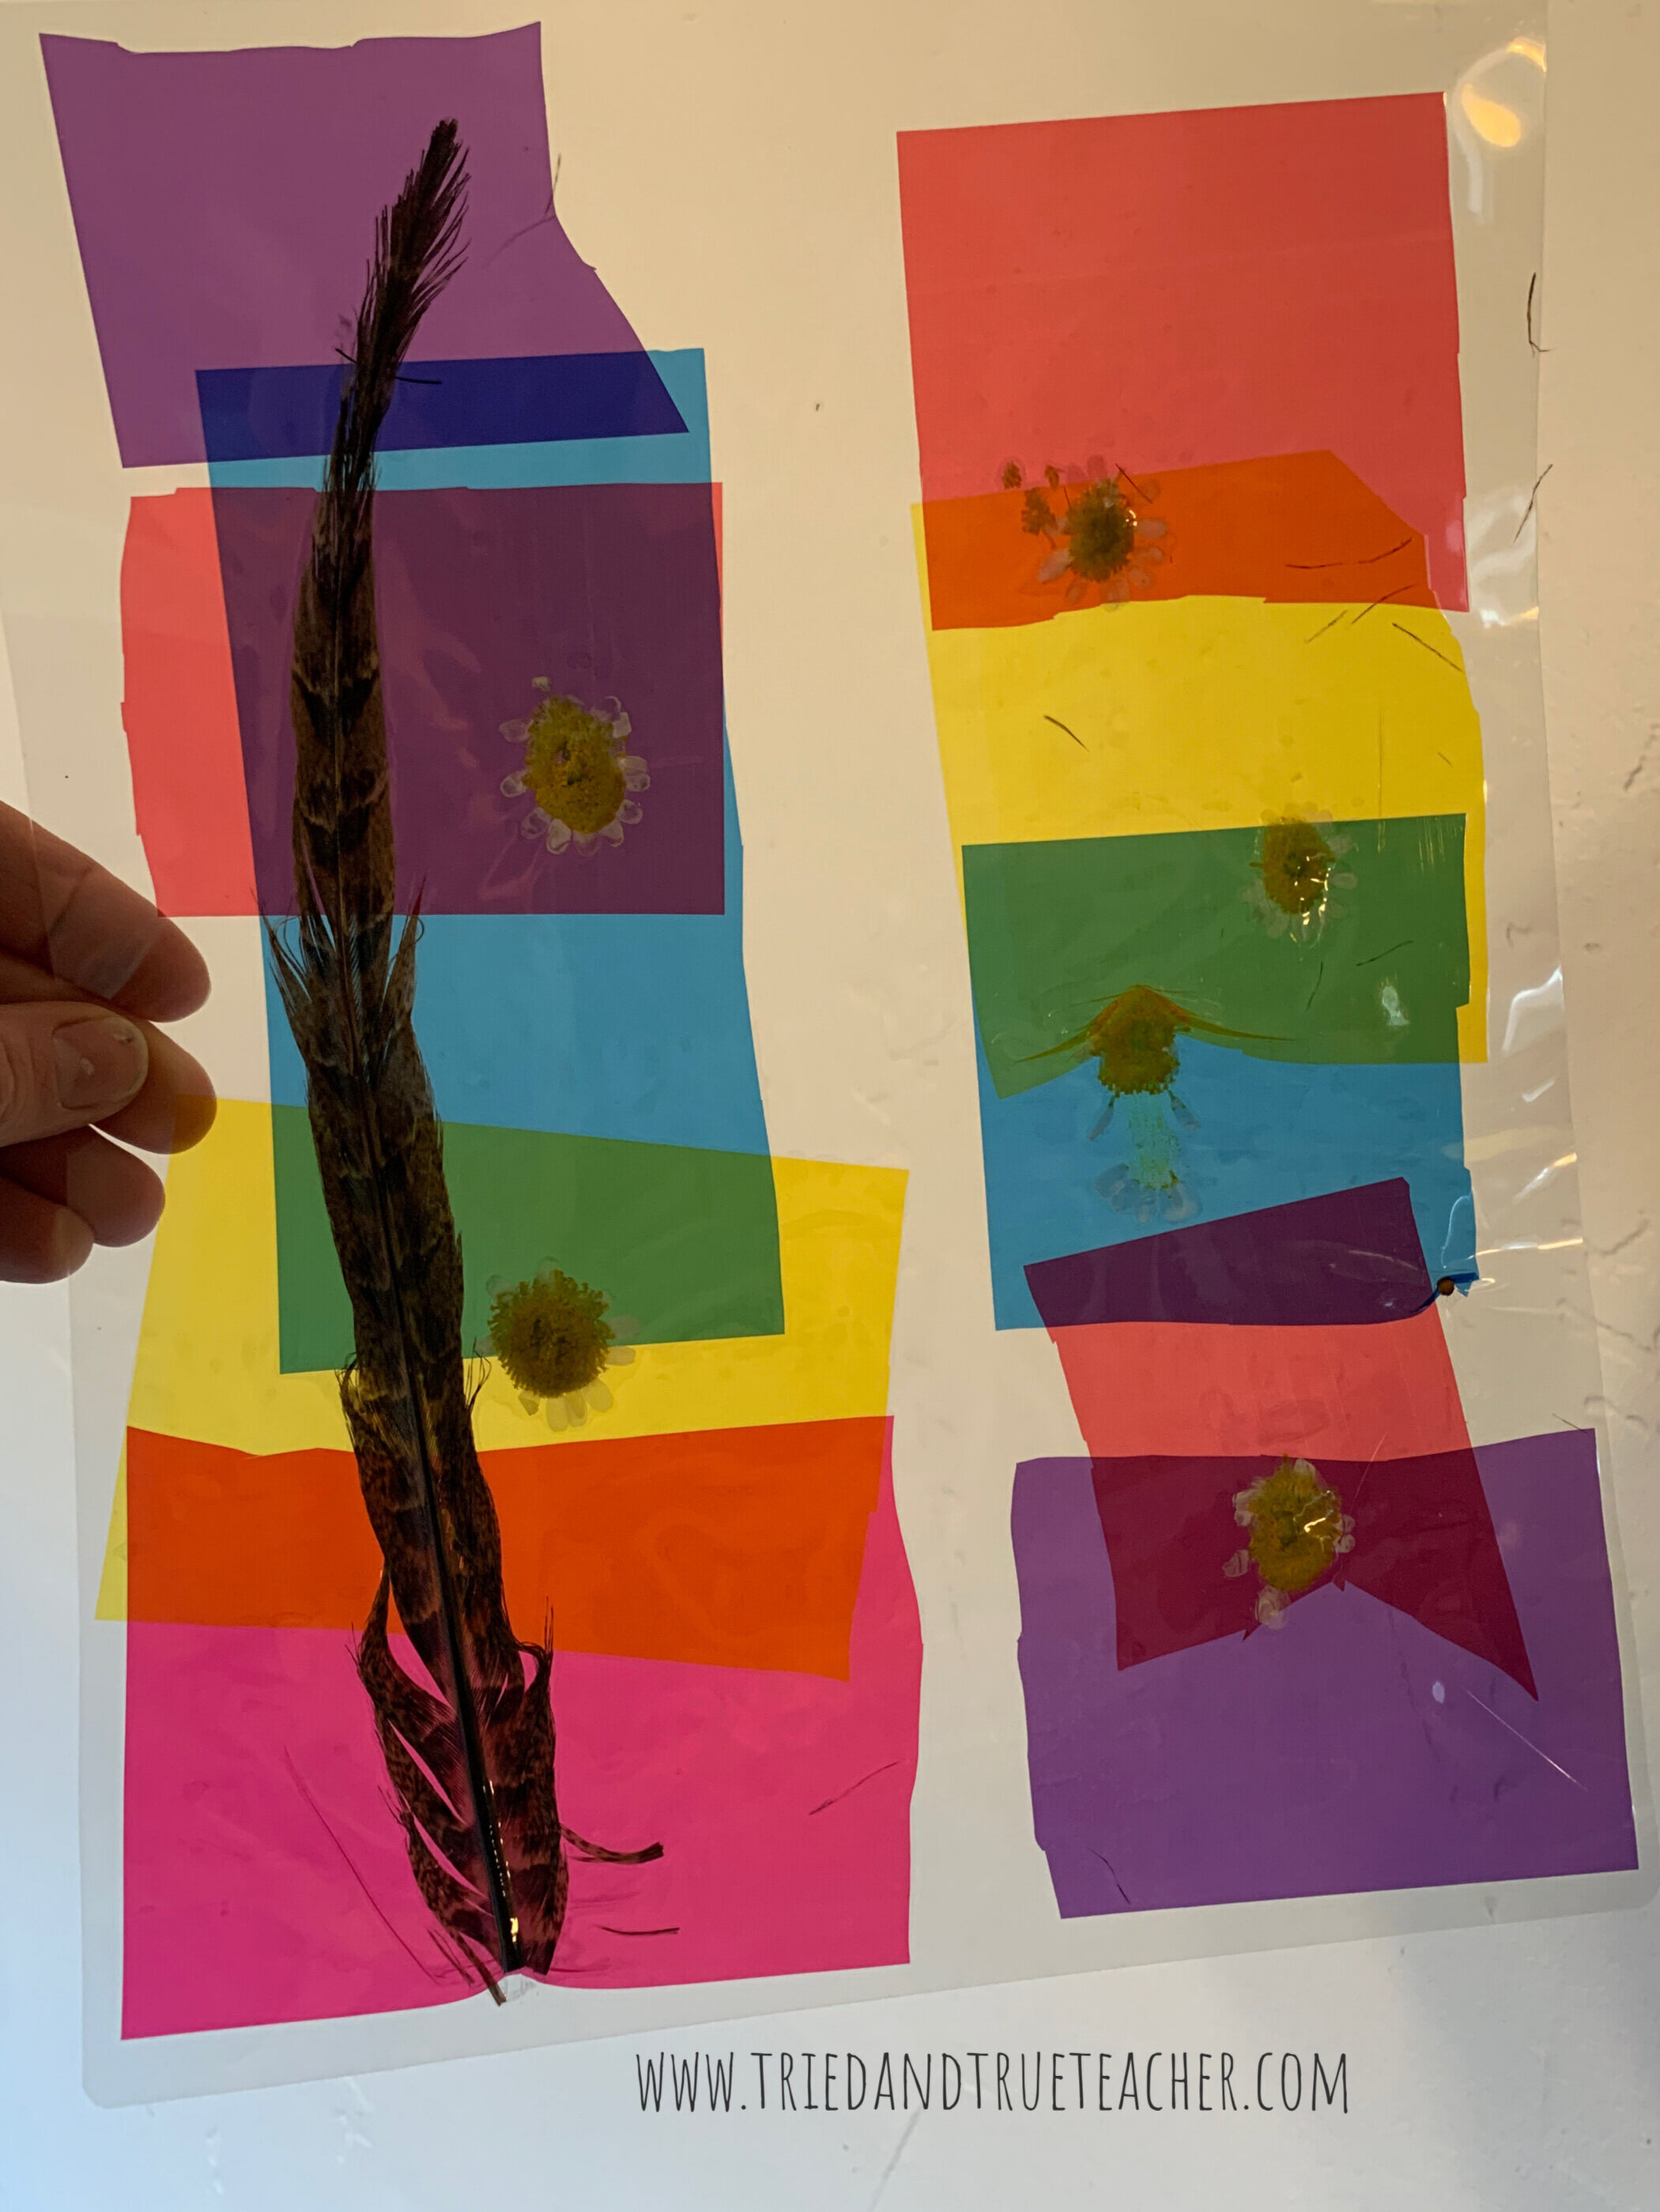
I DIY’ed these beautiful light table play slides… AND YOU CAN TOO!
Let me show you how…
Here’s what you need:
I’ve had my Scotch TL-901 for years and love love LOVE it, but it’s currently unavailable so this one is an upgraded version!
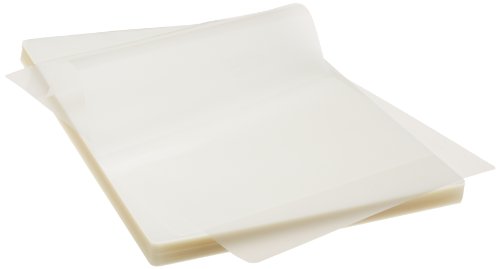
These Amazon Basics cost less and they work just as good as the Scotch Brand ones!
3. Cellophane Sheets -
I had never used these before so I ordered two sizes.
They were pretty much the exact same, aside from one being slightly bigger.
They both worked great, it just depends how big you want your slides to be. I ended up cutting mine a lot so if I ordered more for this same project I’d probably go with the smaller ones- but the bigger ones were great too - they both worked well!


4. Flowers (and/or any other fun nature you might collect outside)
I bought two bouquets from the store (because it’s almost spring here but nothing has sprung yet.😂) I did manage to collect some fun leaves from my yard, but I wanted to add more color with pretty flowers 💐 … so I bought more.
It would definitely be more fun to go on a nature walk with your kids and let them collect all kinds of fun things! 🌾🍃🌿

5. Feathers (Optional) -
but I LOVE feathers… 😍 I’ve been wearing them in my hair for years and I LOVE using them in my art projects.
Here are some fun feathers you can order on Amazon. And here are some other pretty fun ones!
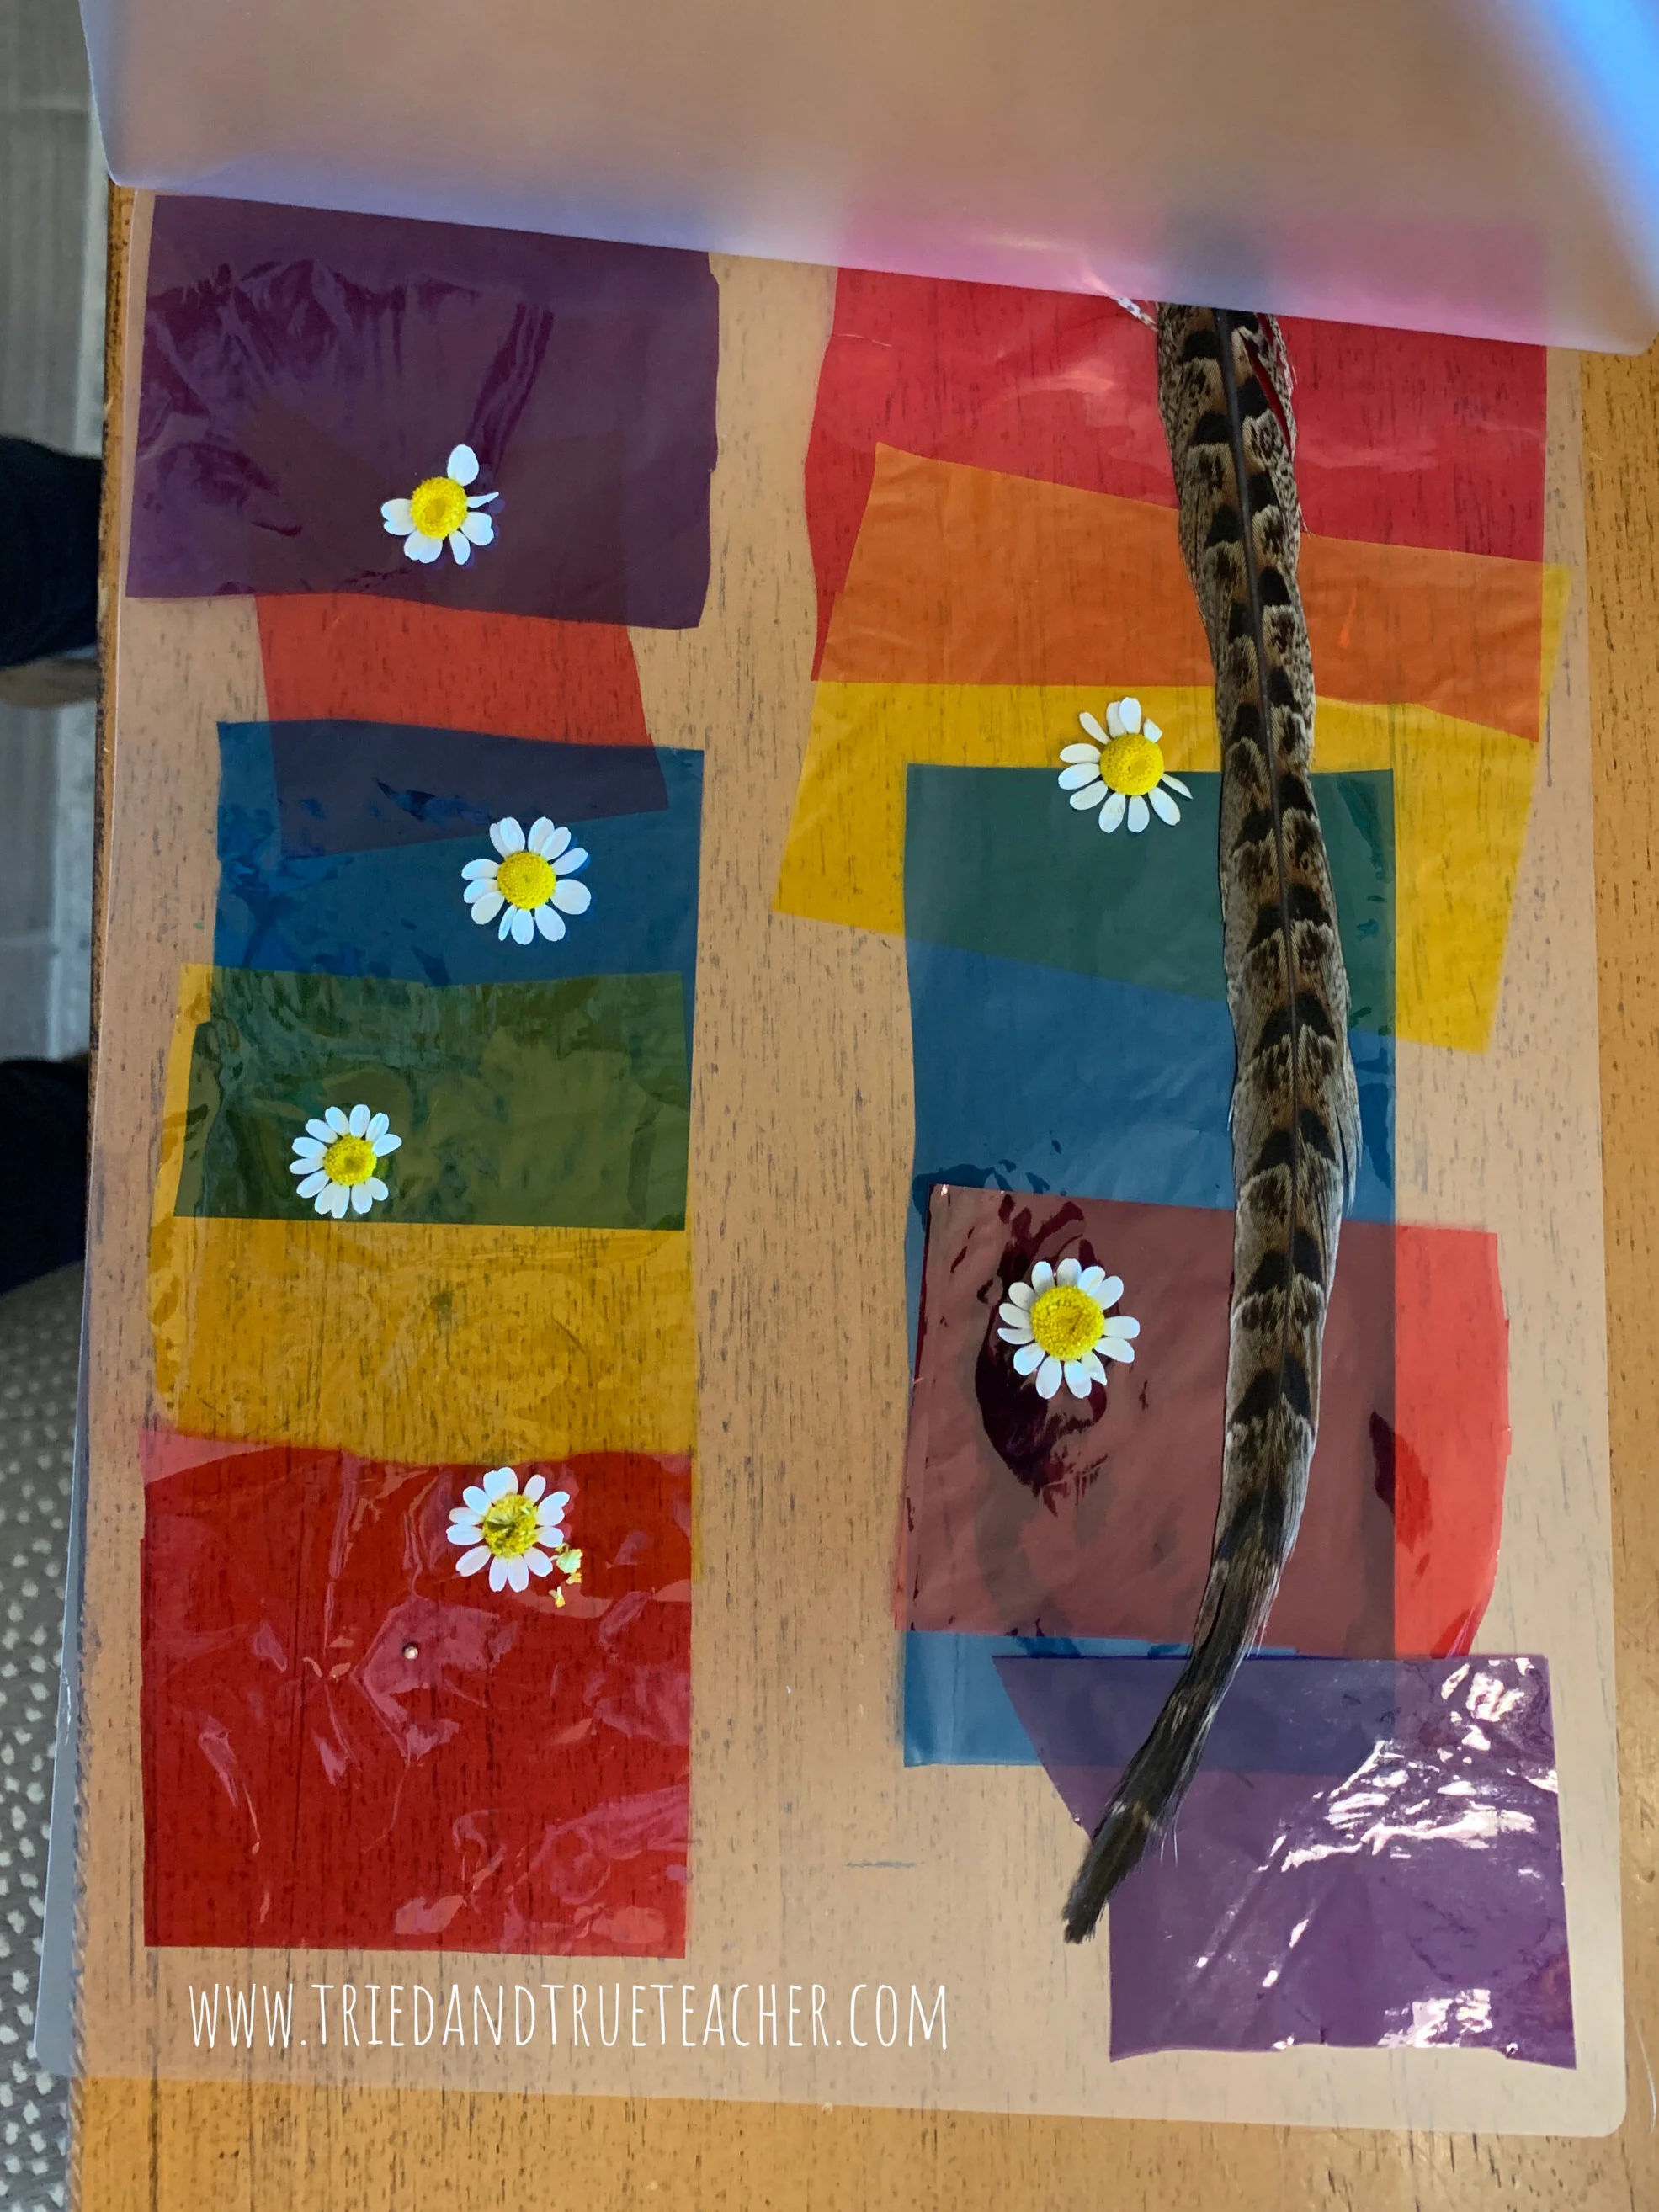
💚💚💚💚💚

The Best Method
I tried out a few different methods…to see what would work best. 👎🏿👍🏻👎🏽👍🏾
I wanted to figure out how to make the slides the most durable, because the cellophane sheets are pretty flimsy.
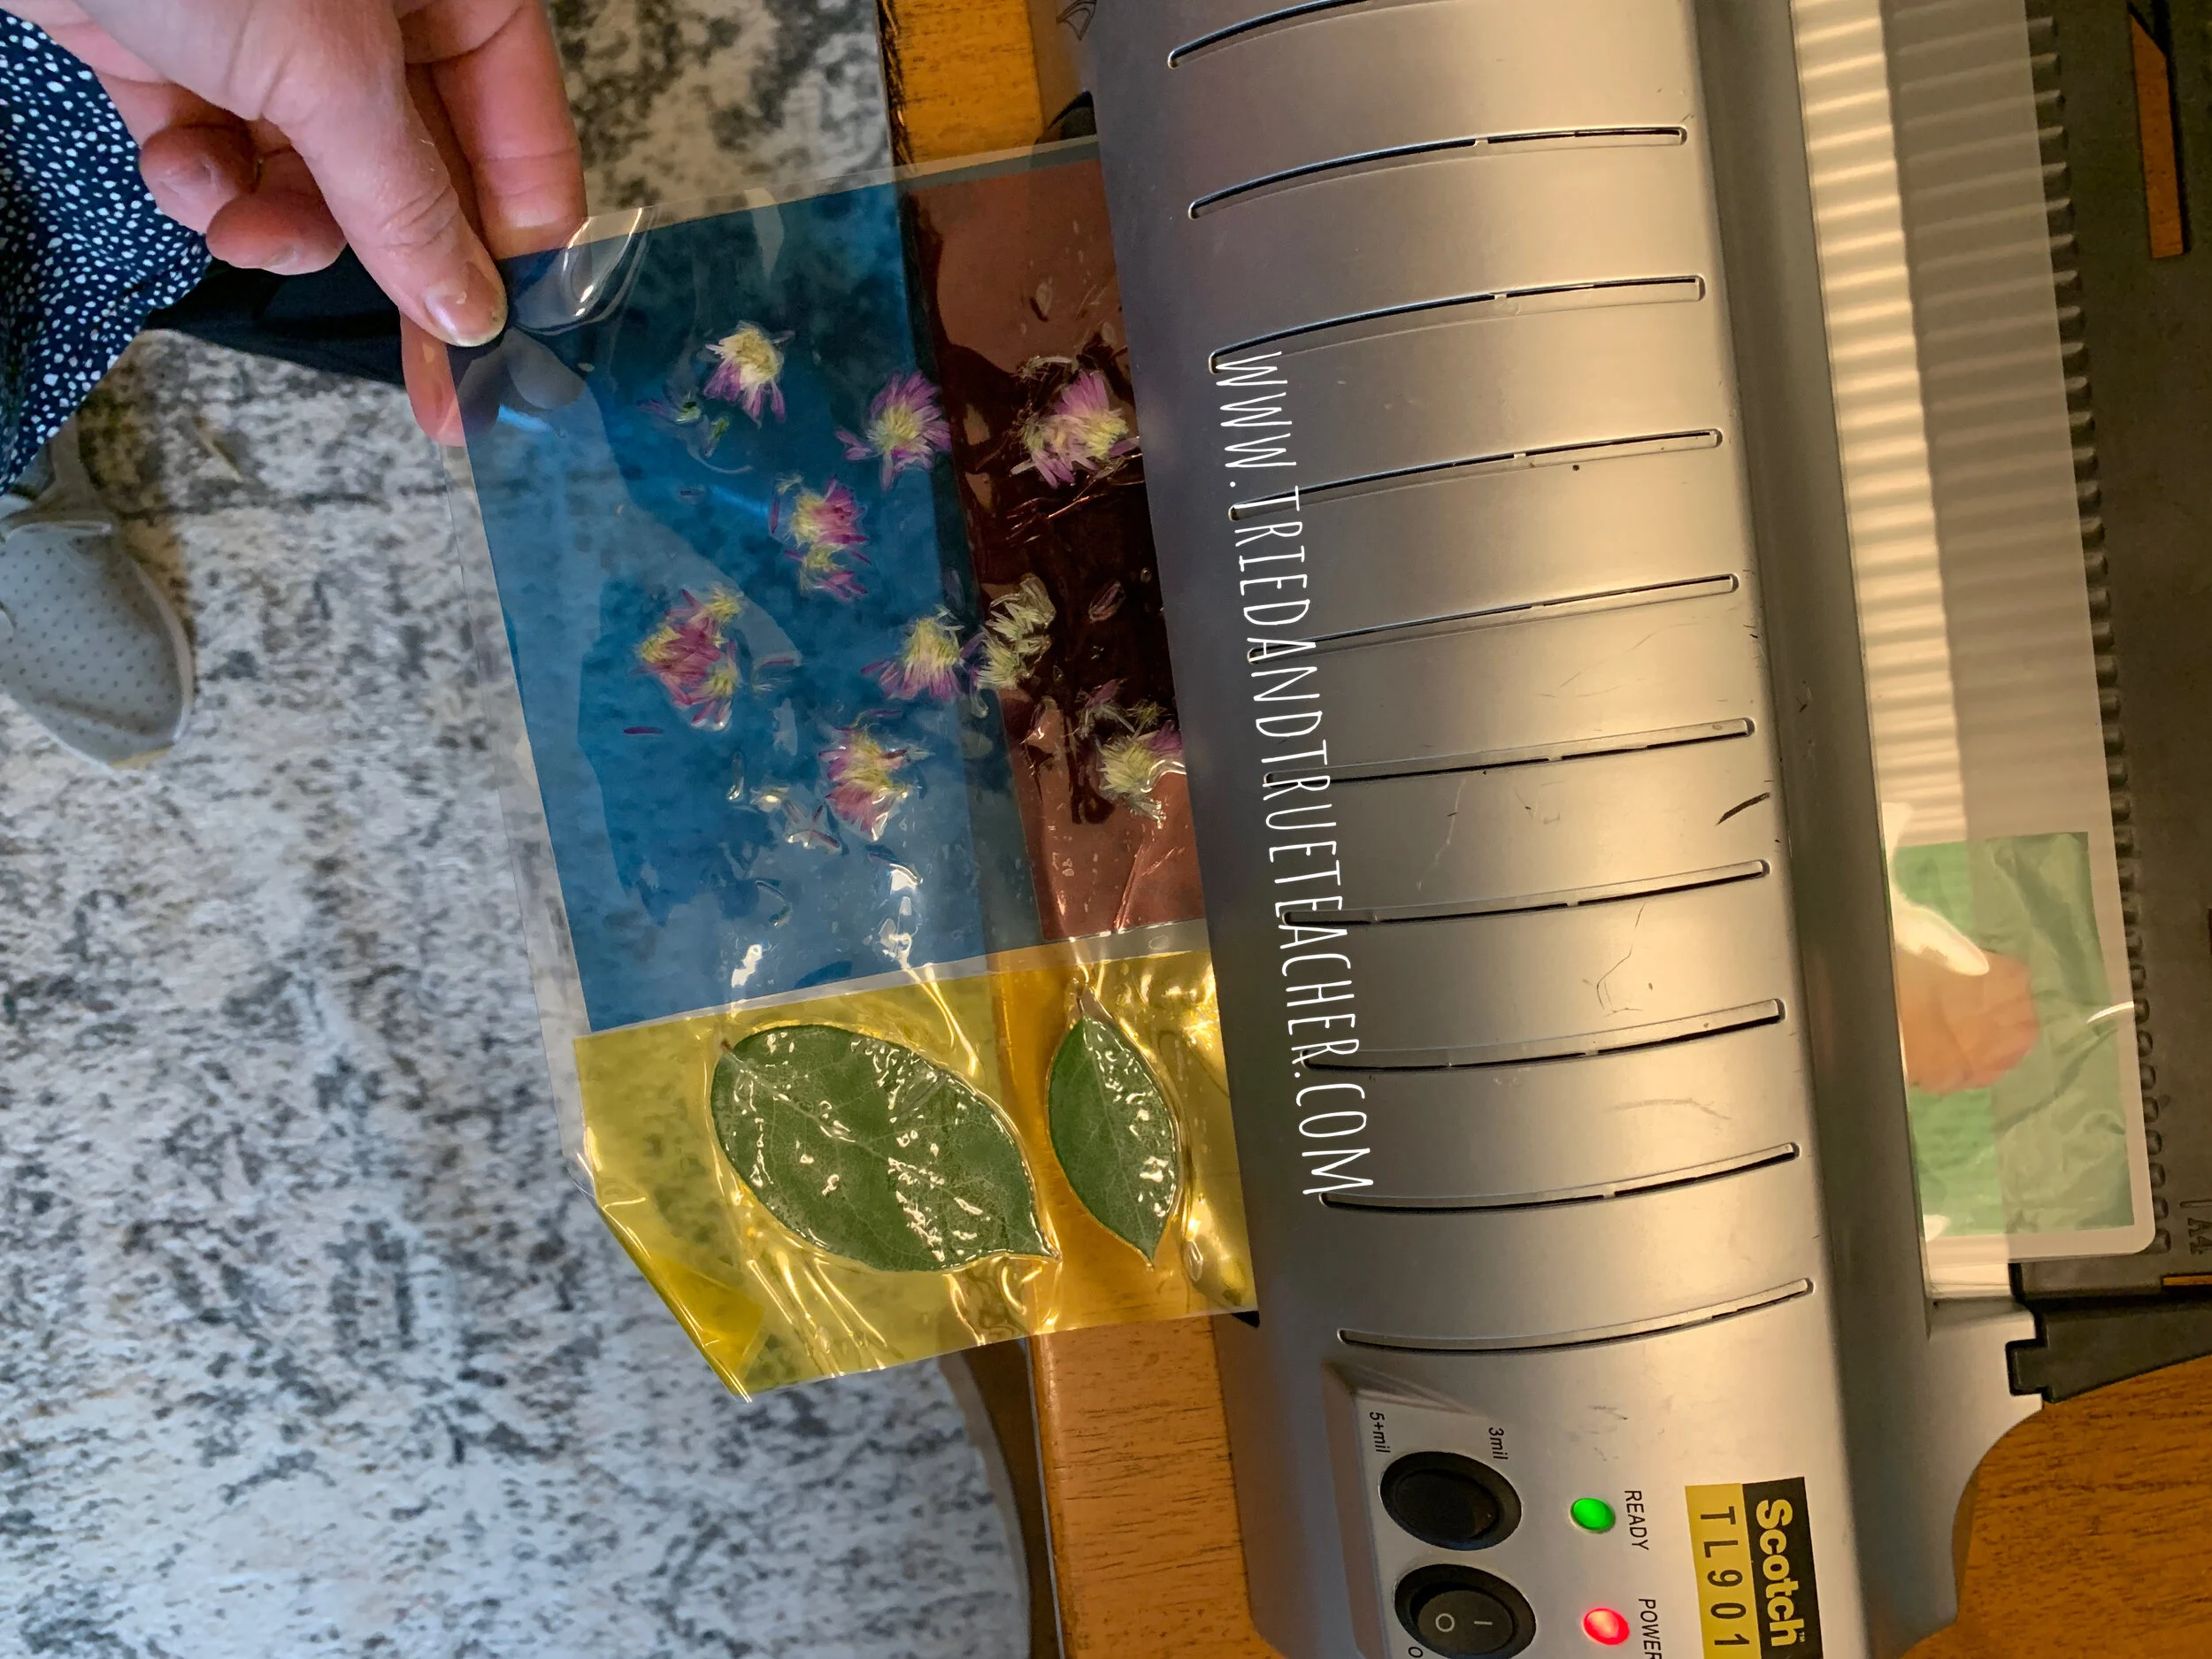
The best way I found to do it was to put the cellophane sheets and the flower pieces/nature/feathers - into the lamination sheet and put them through the laminator as one piece…👏🏼👏🏿👏🏽👏🏾
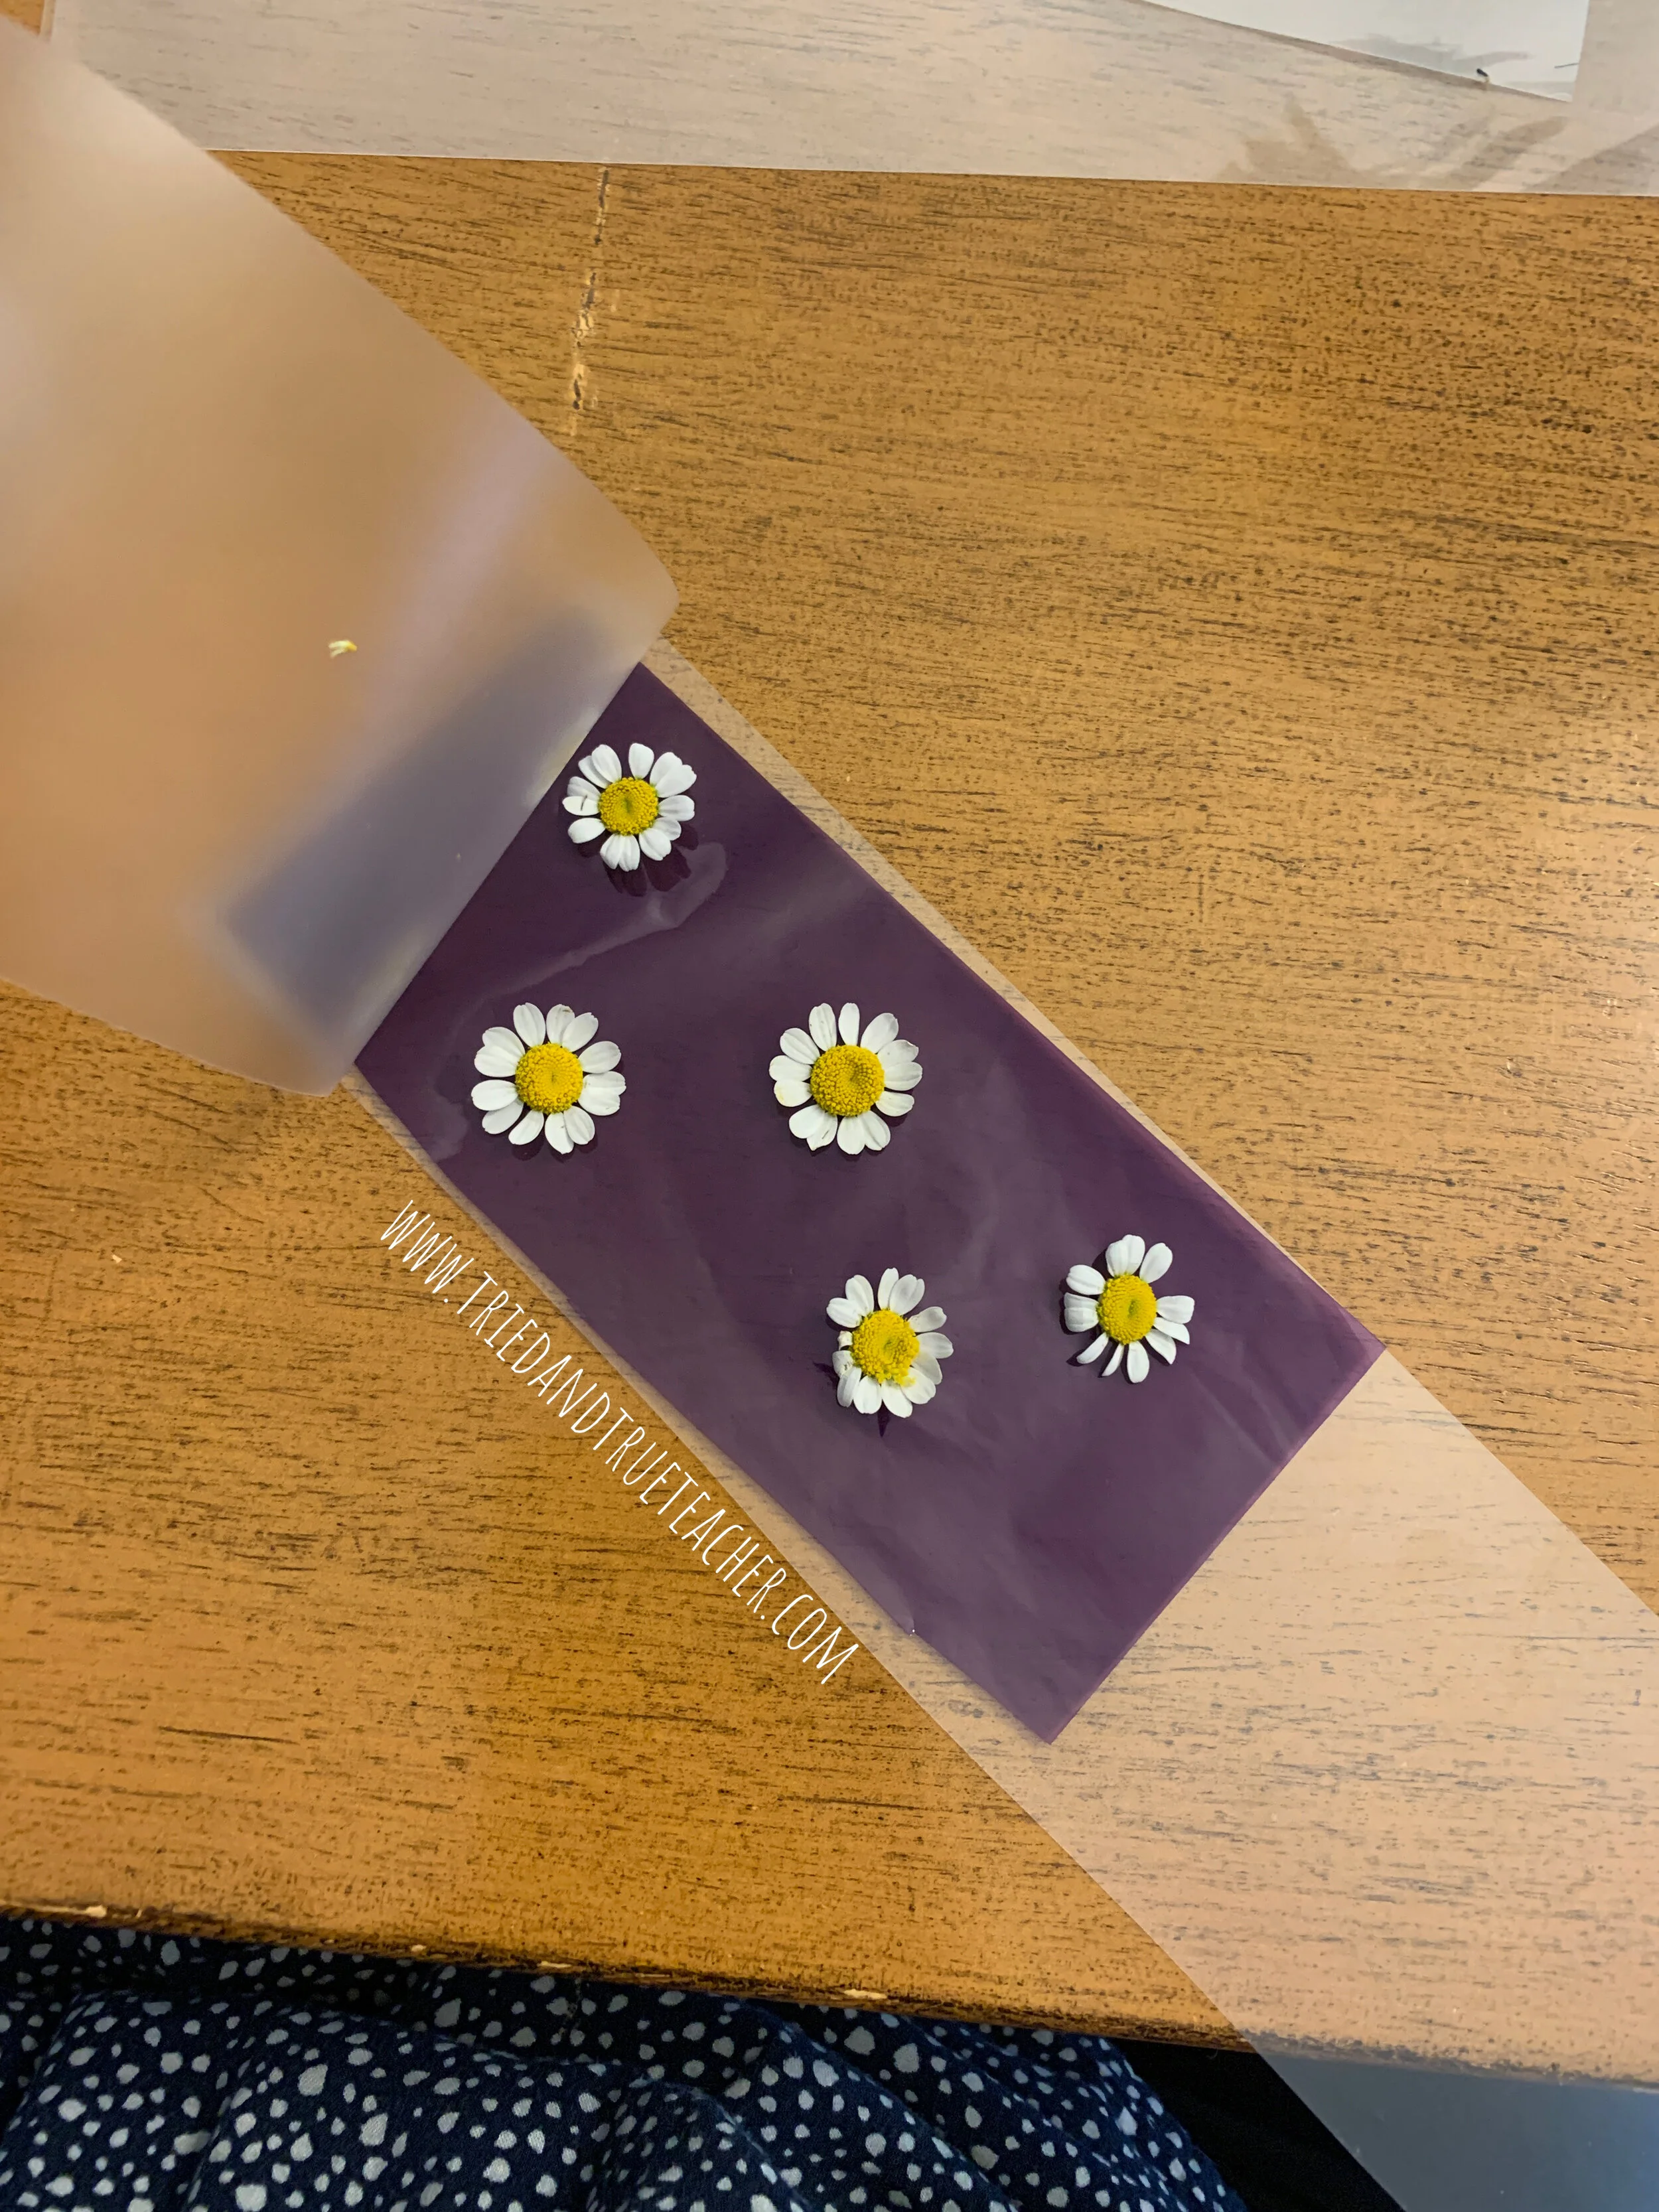
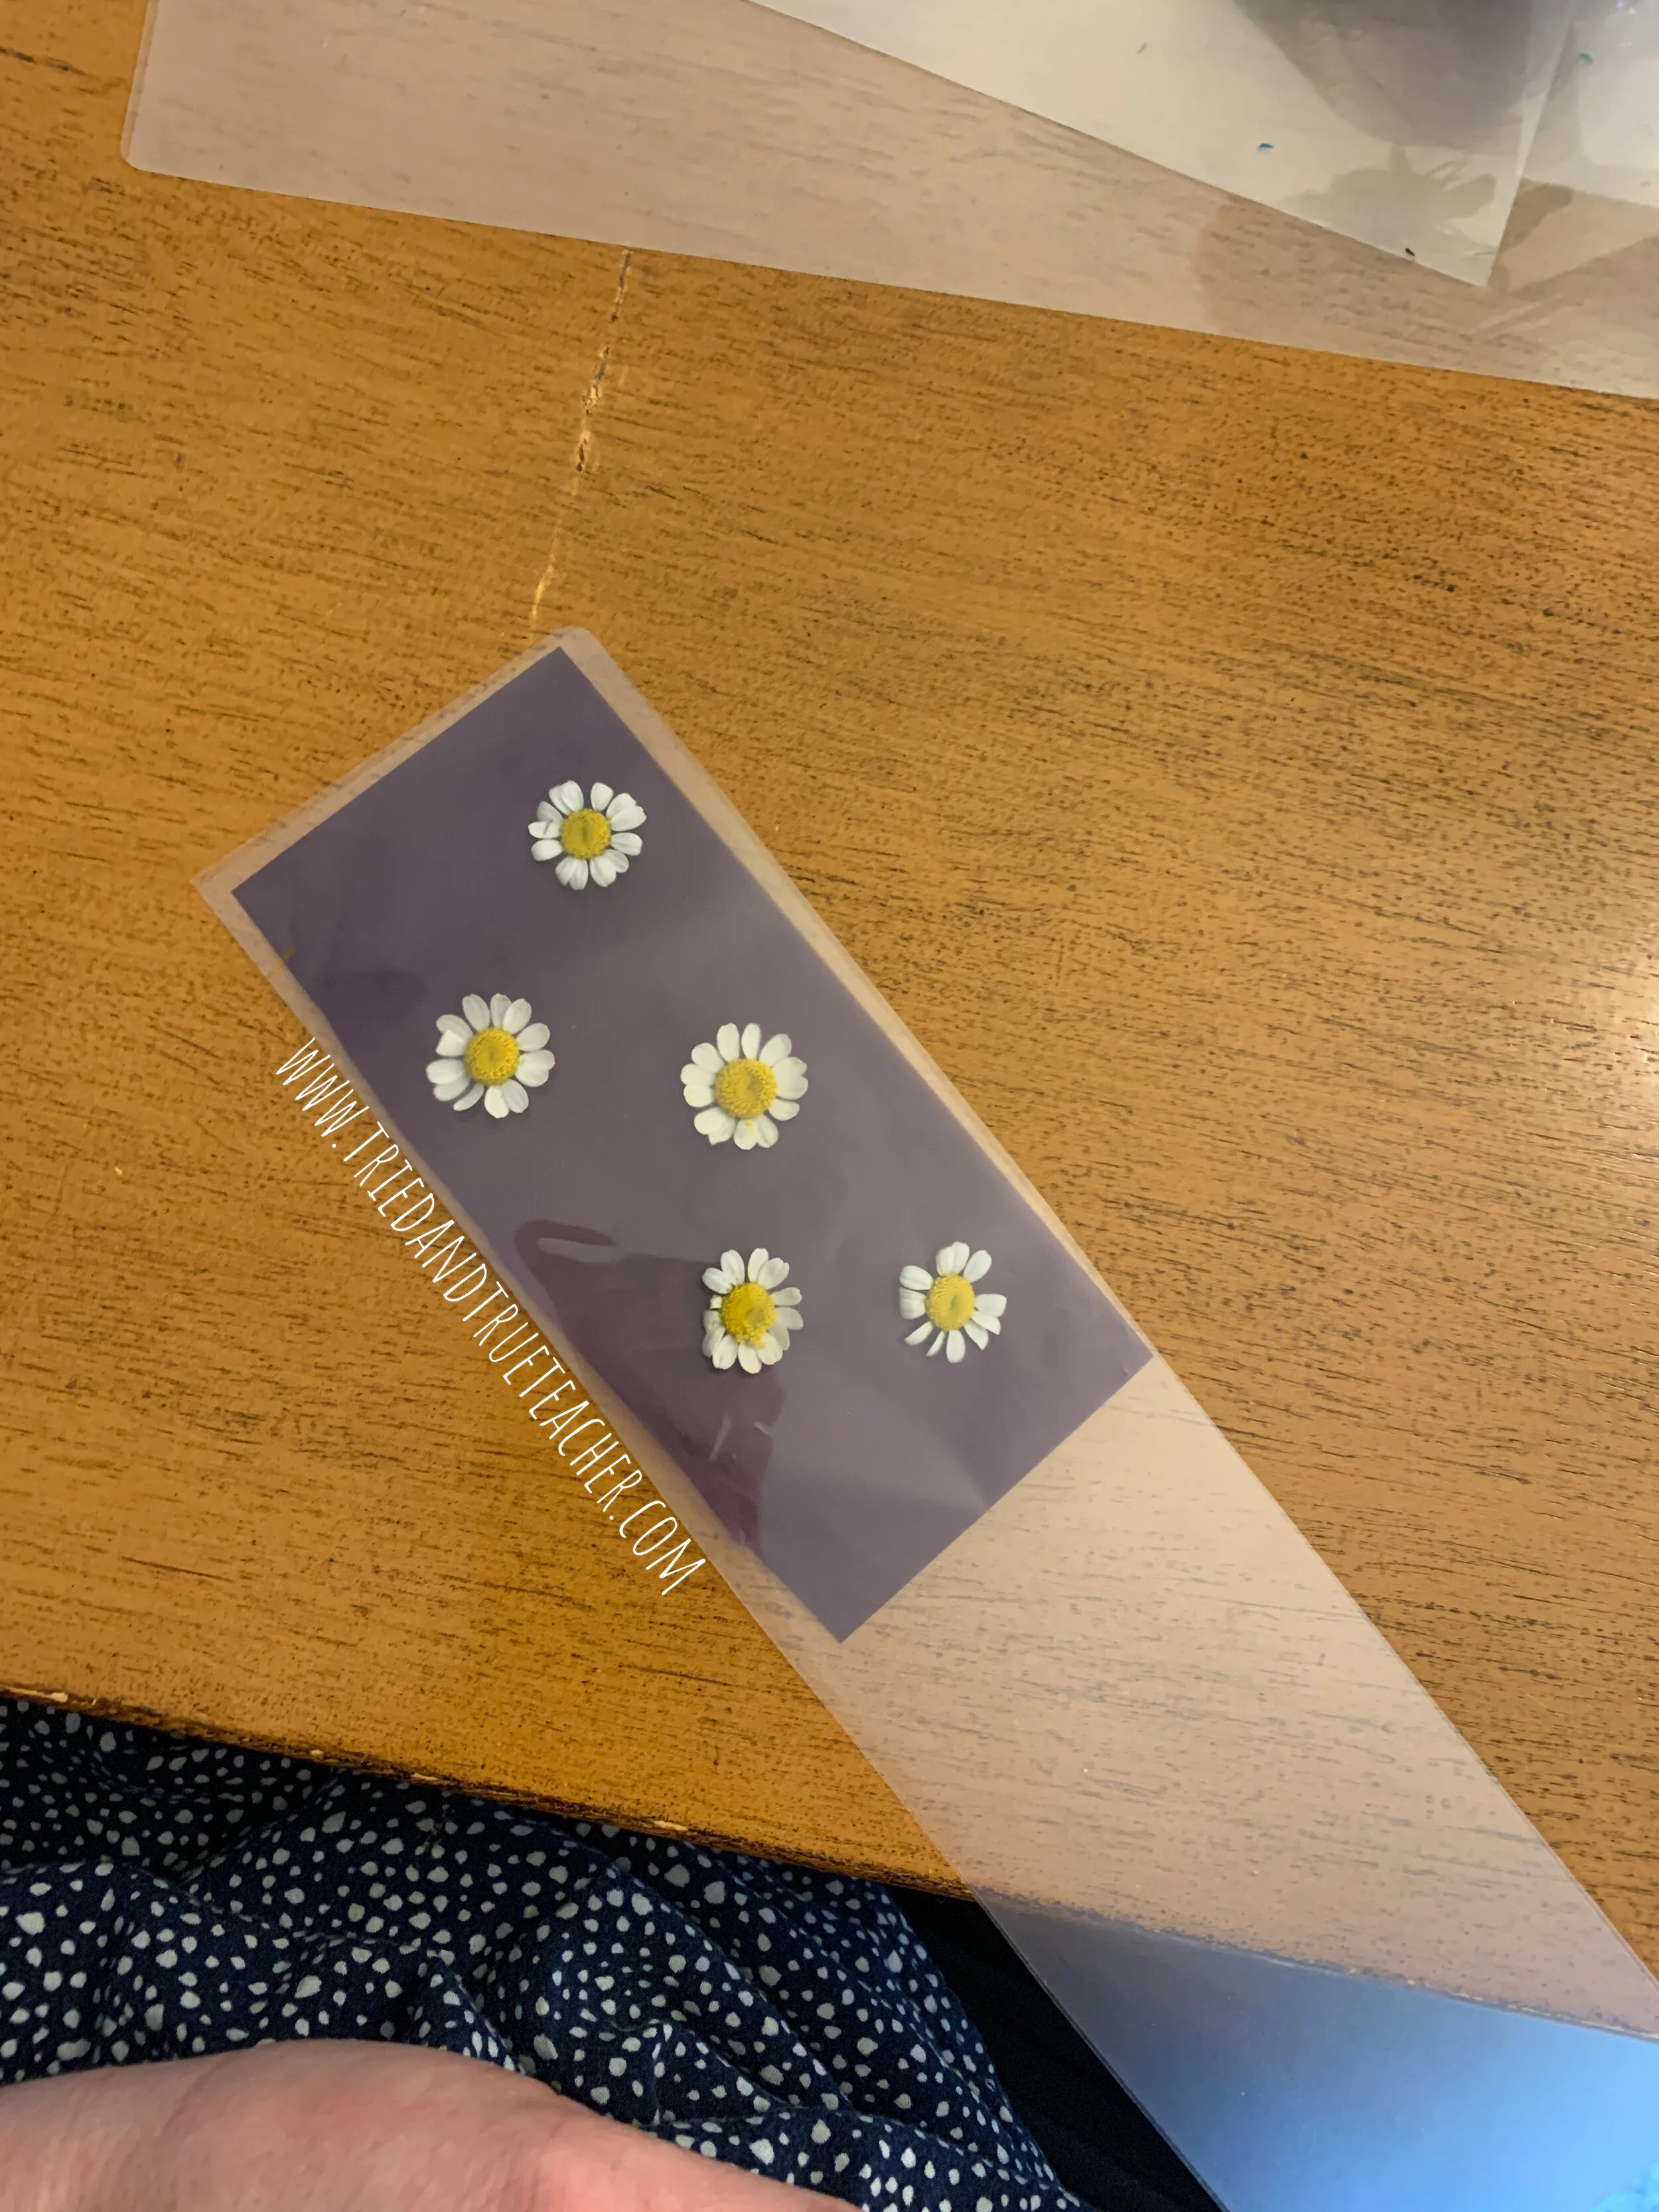

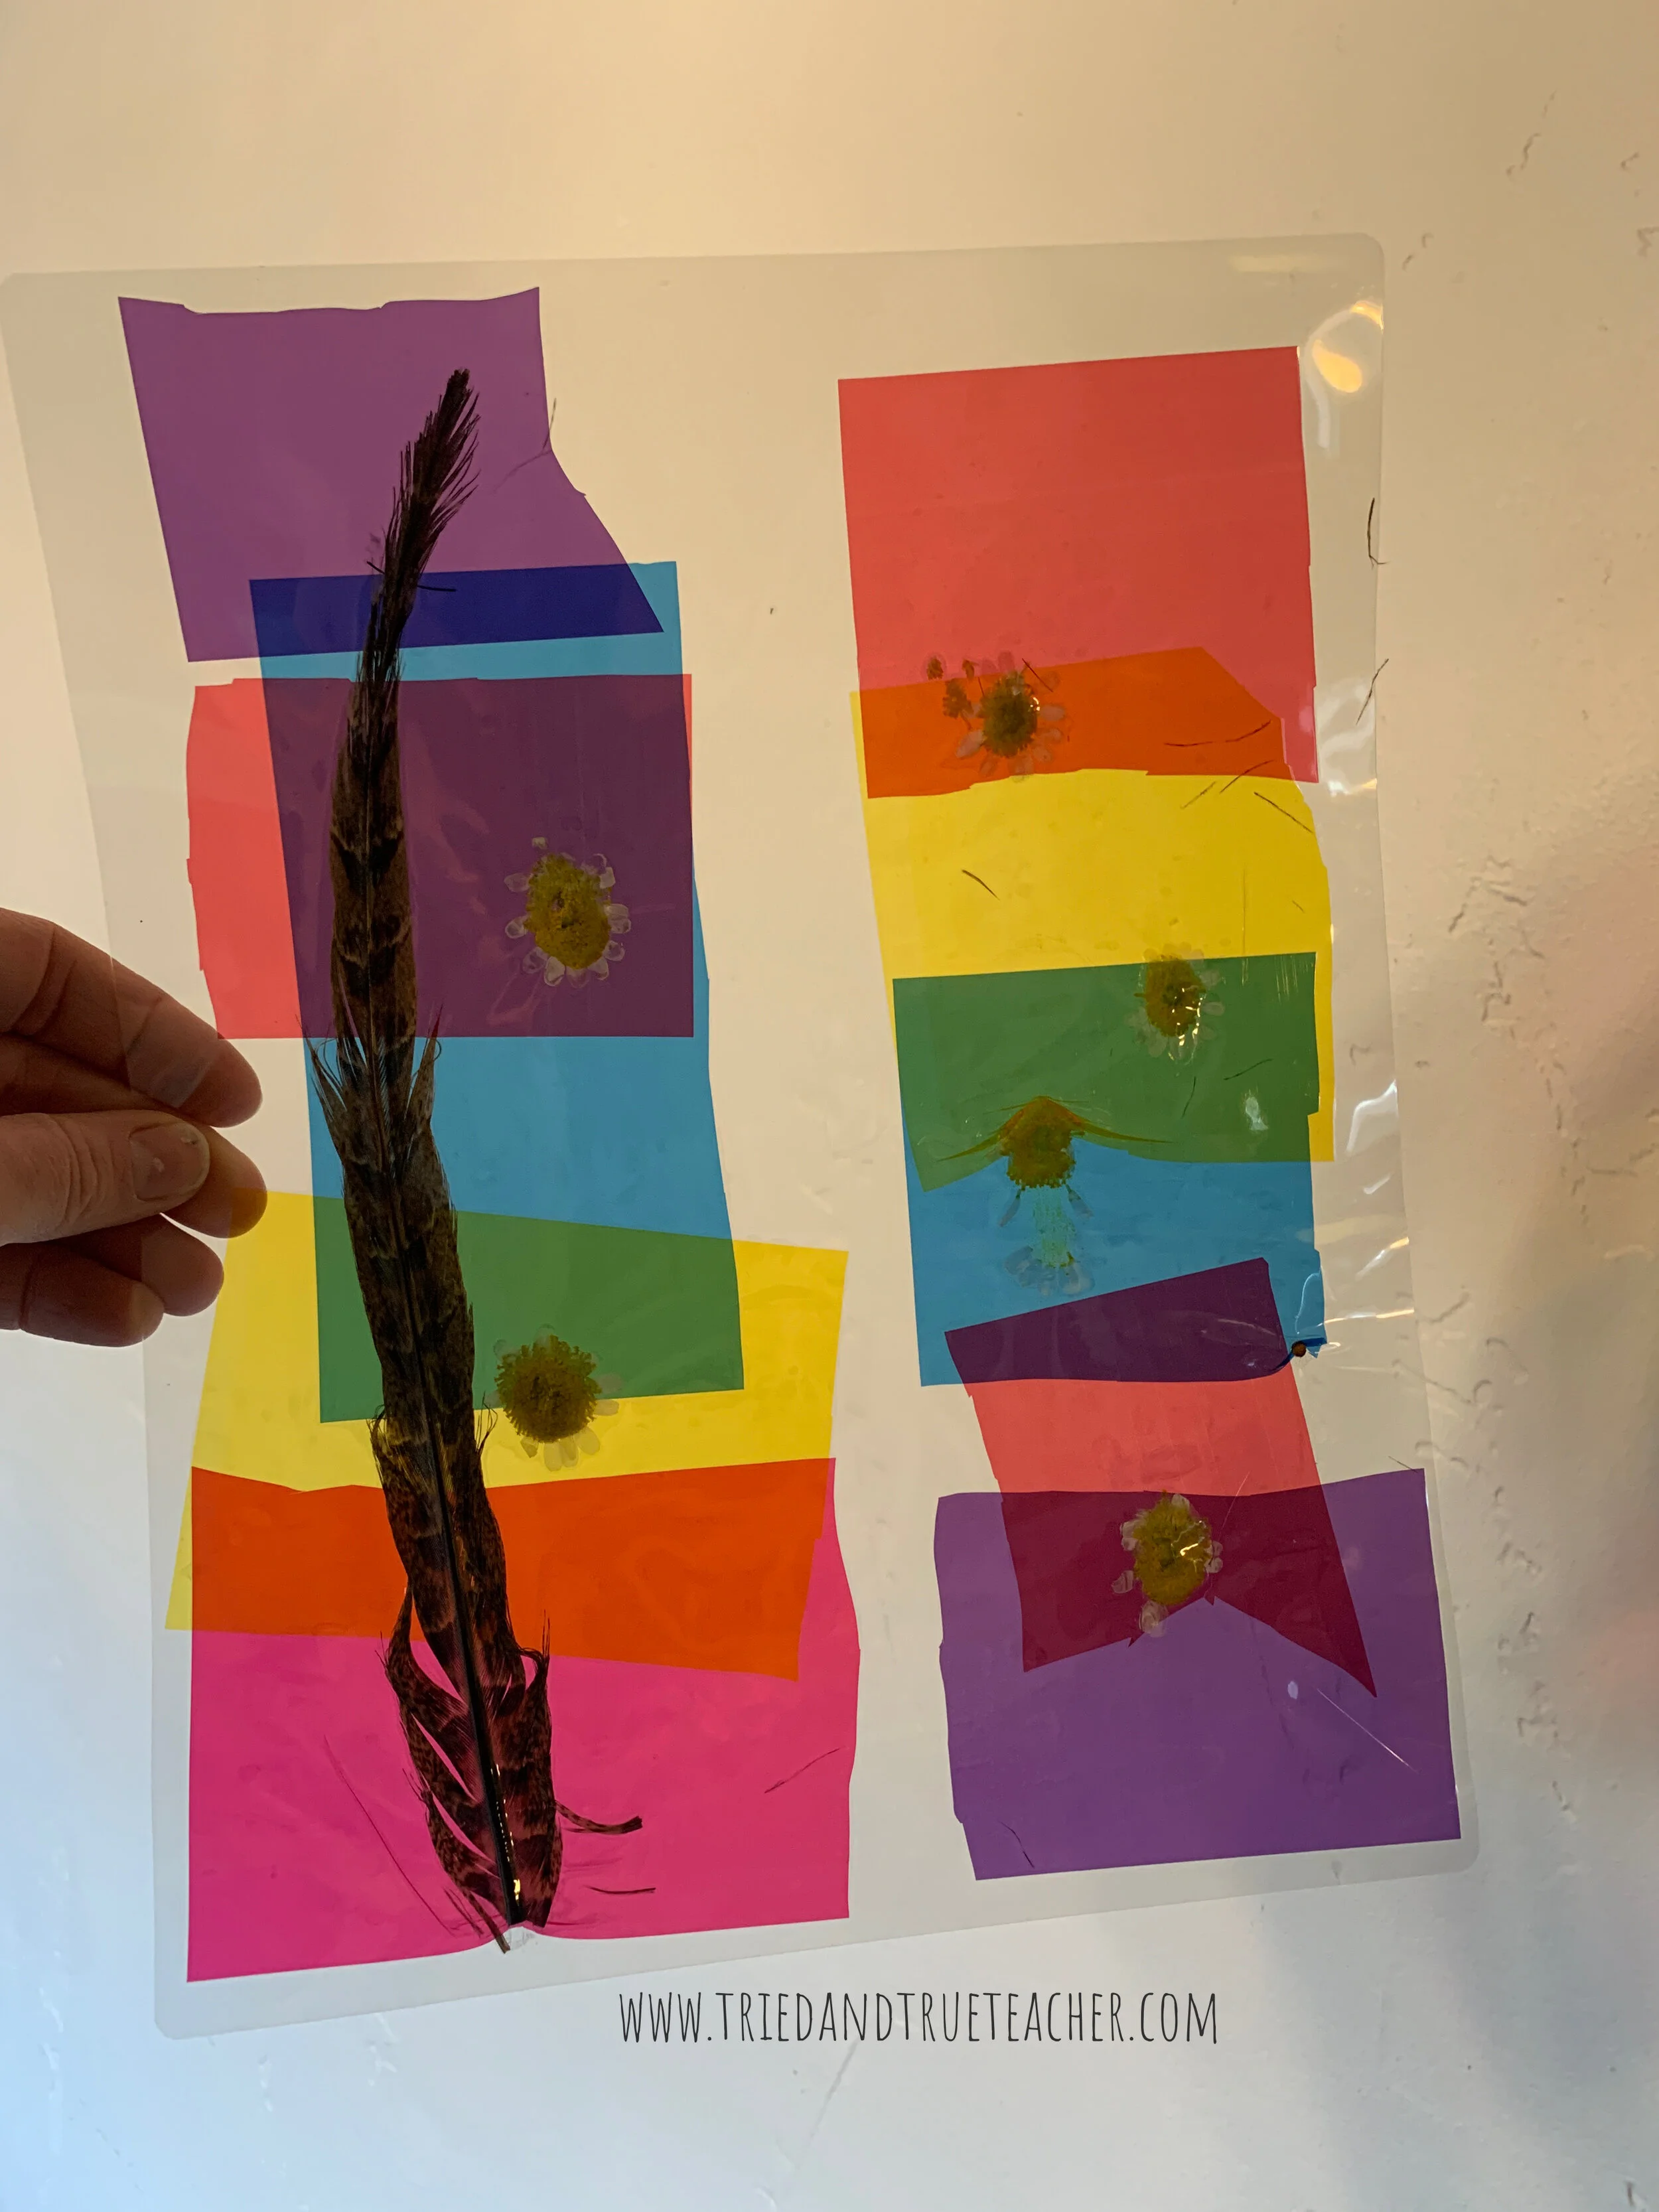
*BE SURE TO FLATTEN the flowers before laminating.*
You can press down on them OR you can take them apart a little so they flatten easily.
You want to make sure you’re not trying to push big bulky flower heads through the laminator.

This is how it should look before you run it through the laminator!
💚💚💚💚💚
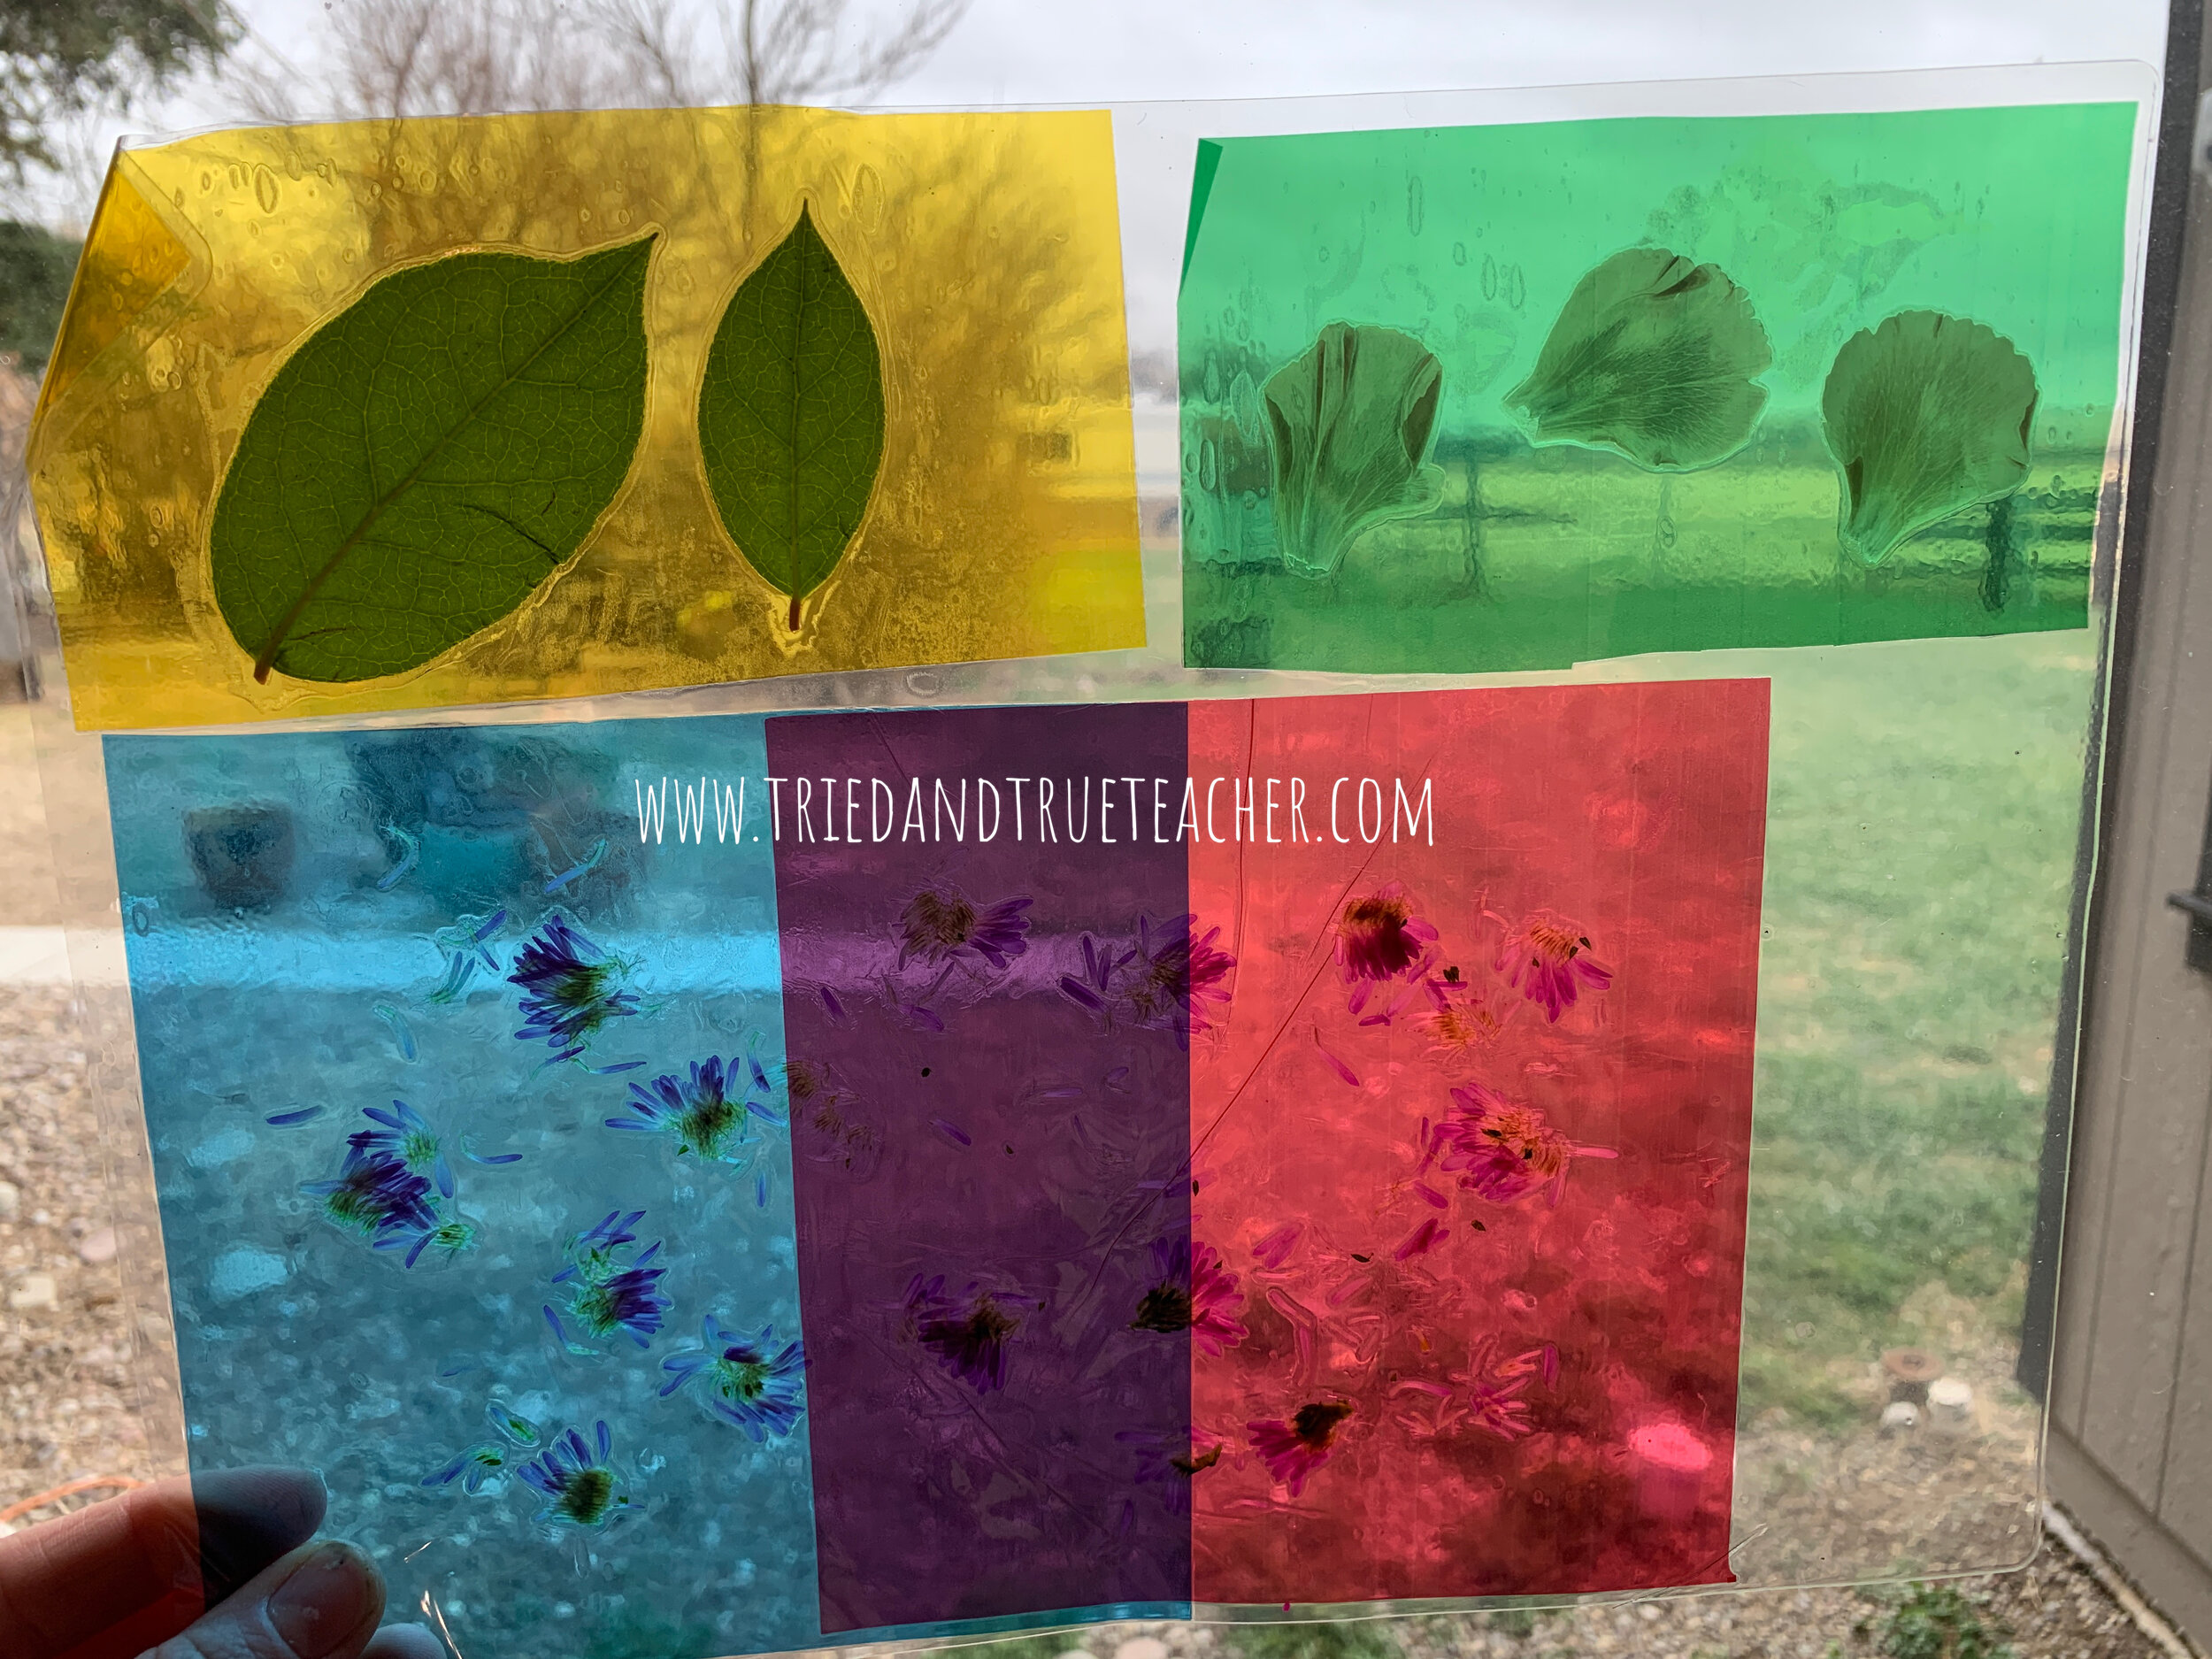
I gotta tell ya, when these came out, and I held them up to the window — 😍 — I was “little-kid-again” excited.
(Straight up, giddy.) 😁
THEY ARE EVEN BETTER THAN I IMAGINED!
I mean, come on — HOW COOL ARE THOSE COLORS?🌈

AND, the best part… is that, I constructed a few to show color mixing examples… but kids can overlap colors on their own to see what happens! 🎉😯
This fun could last for hours!!!

💚💚💚💚💚
Methods To Avoid
In the beginning, I was pushing whole bulky flower heads 🌺 🌸 🌼 through the laminator and they would get smashed. 😯
QUICK TIP: If you’re having trouble keeping the lamination folded together, you should probably press them down more BEFORE running it through.
(Use a heavy book or a spatula to flatten the objects before you send them through!) Otherwise, the heat and the laminator take over and smooosh it… which is not good for the laminator.
***You don’t want the laminator to have to fight to get the sheet through because it’s too bulky… take care of this beforehand!
Below is an example of a smashed flower that I sent through: 😟

It still looks OK, but it’s not good for the laminator. 🙅
I also attempted to add a popsicle stick border to see how that would go…

First, I laminated one single sheet of pink cellophane.
Then, I put whole flowers on it …
And finally, I sandwiched it closed with one unlaminated sheet of cellophane and some hot glue.

It was kind of cool.
But it was just too fragile. 👎
AND, the popsicle sticks took away from the full-light-table-experience - making it hard to stack slides for color mixing or color sorting.
Ultimately, I opted for the no-popsicle stick border. 🙌🏽
💚💚💚💚💚
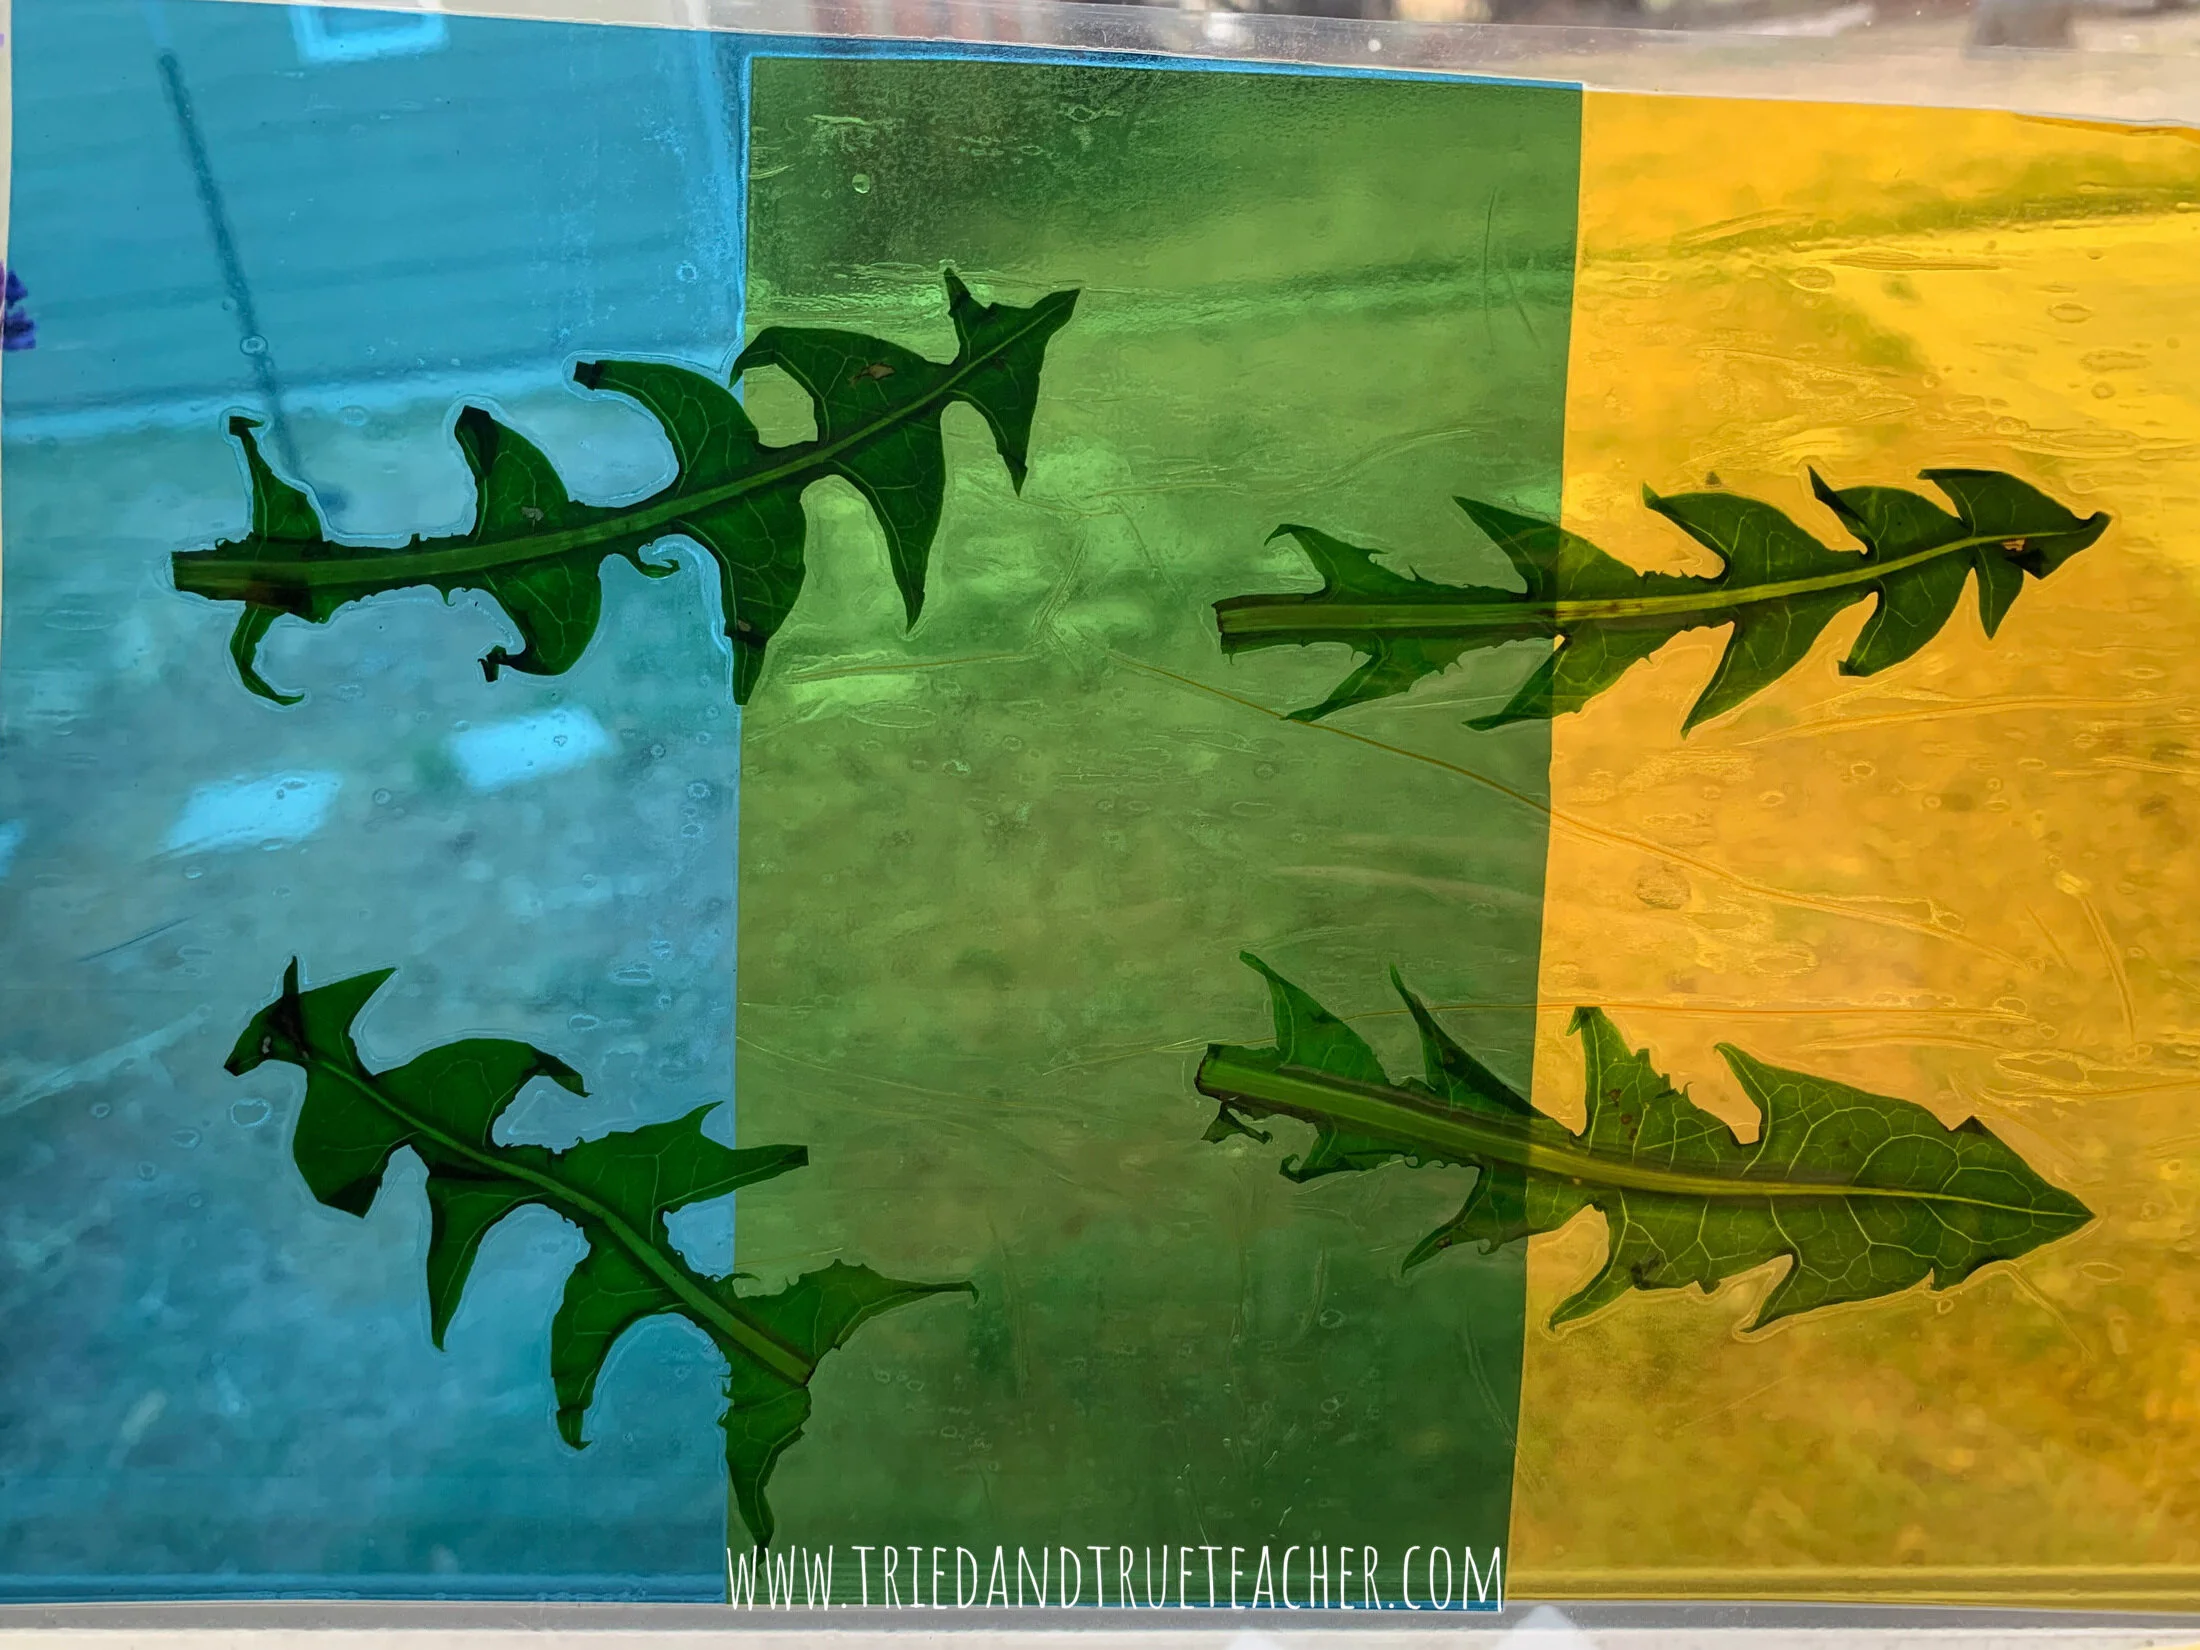

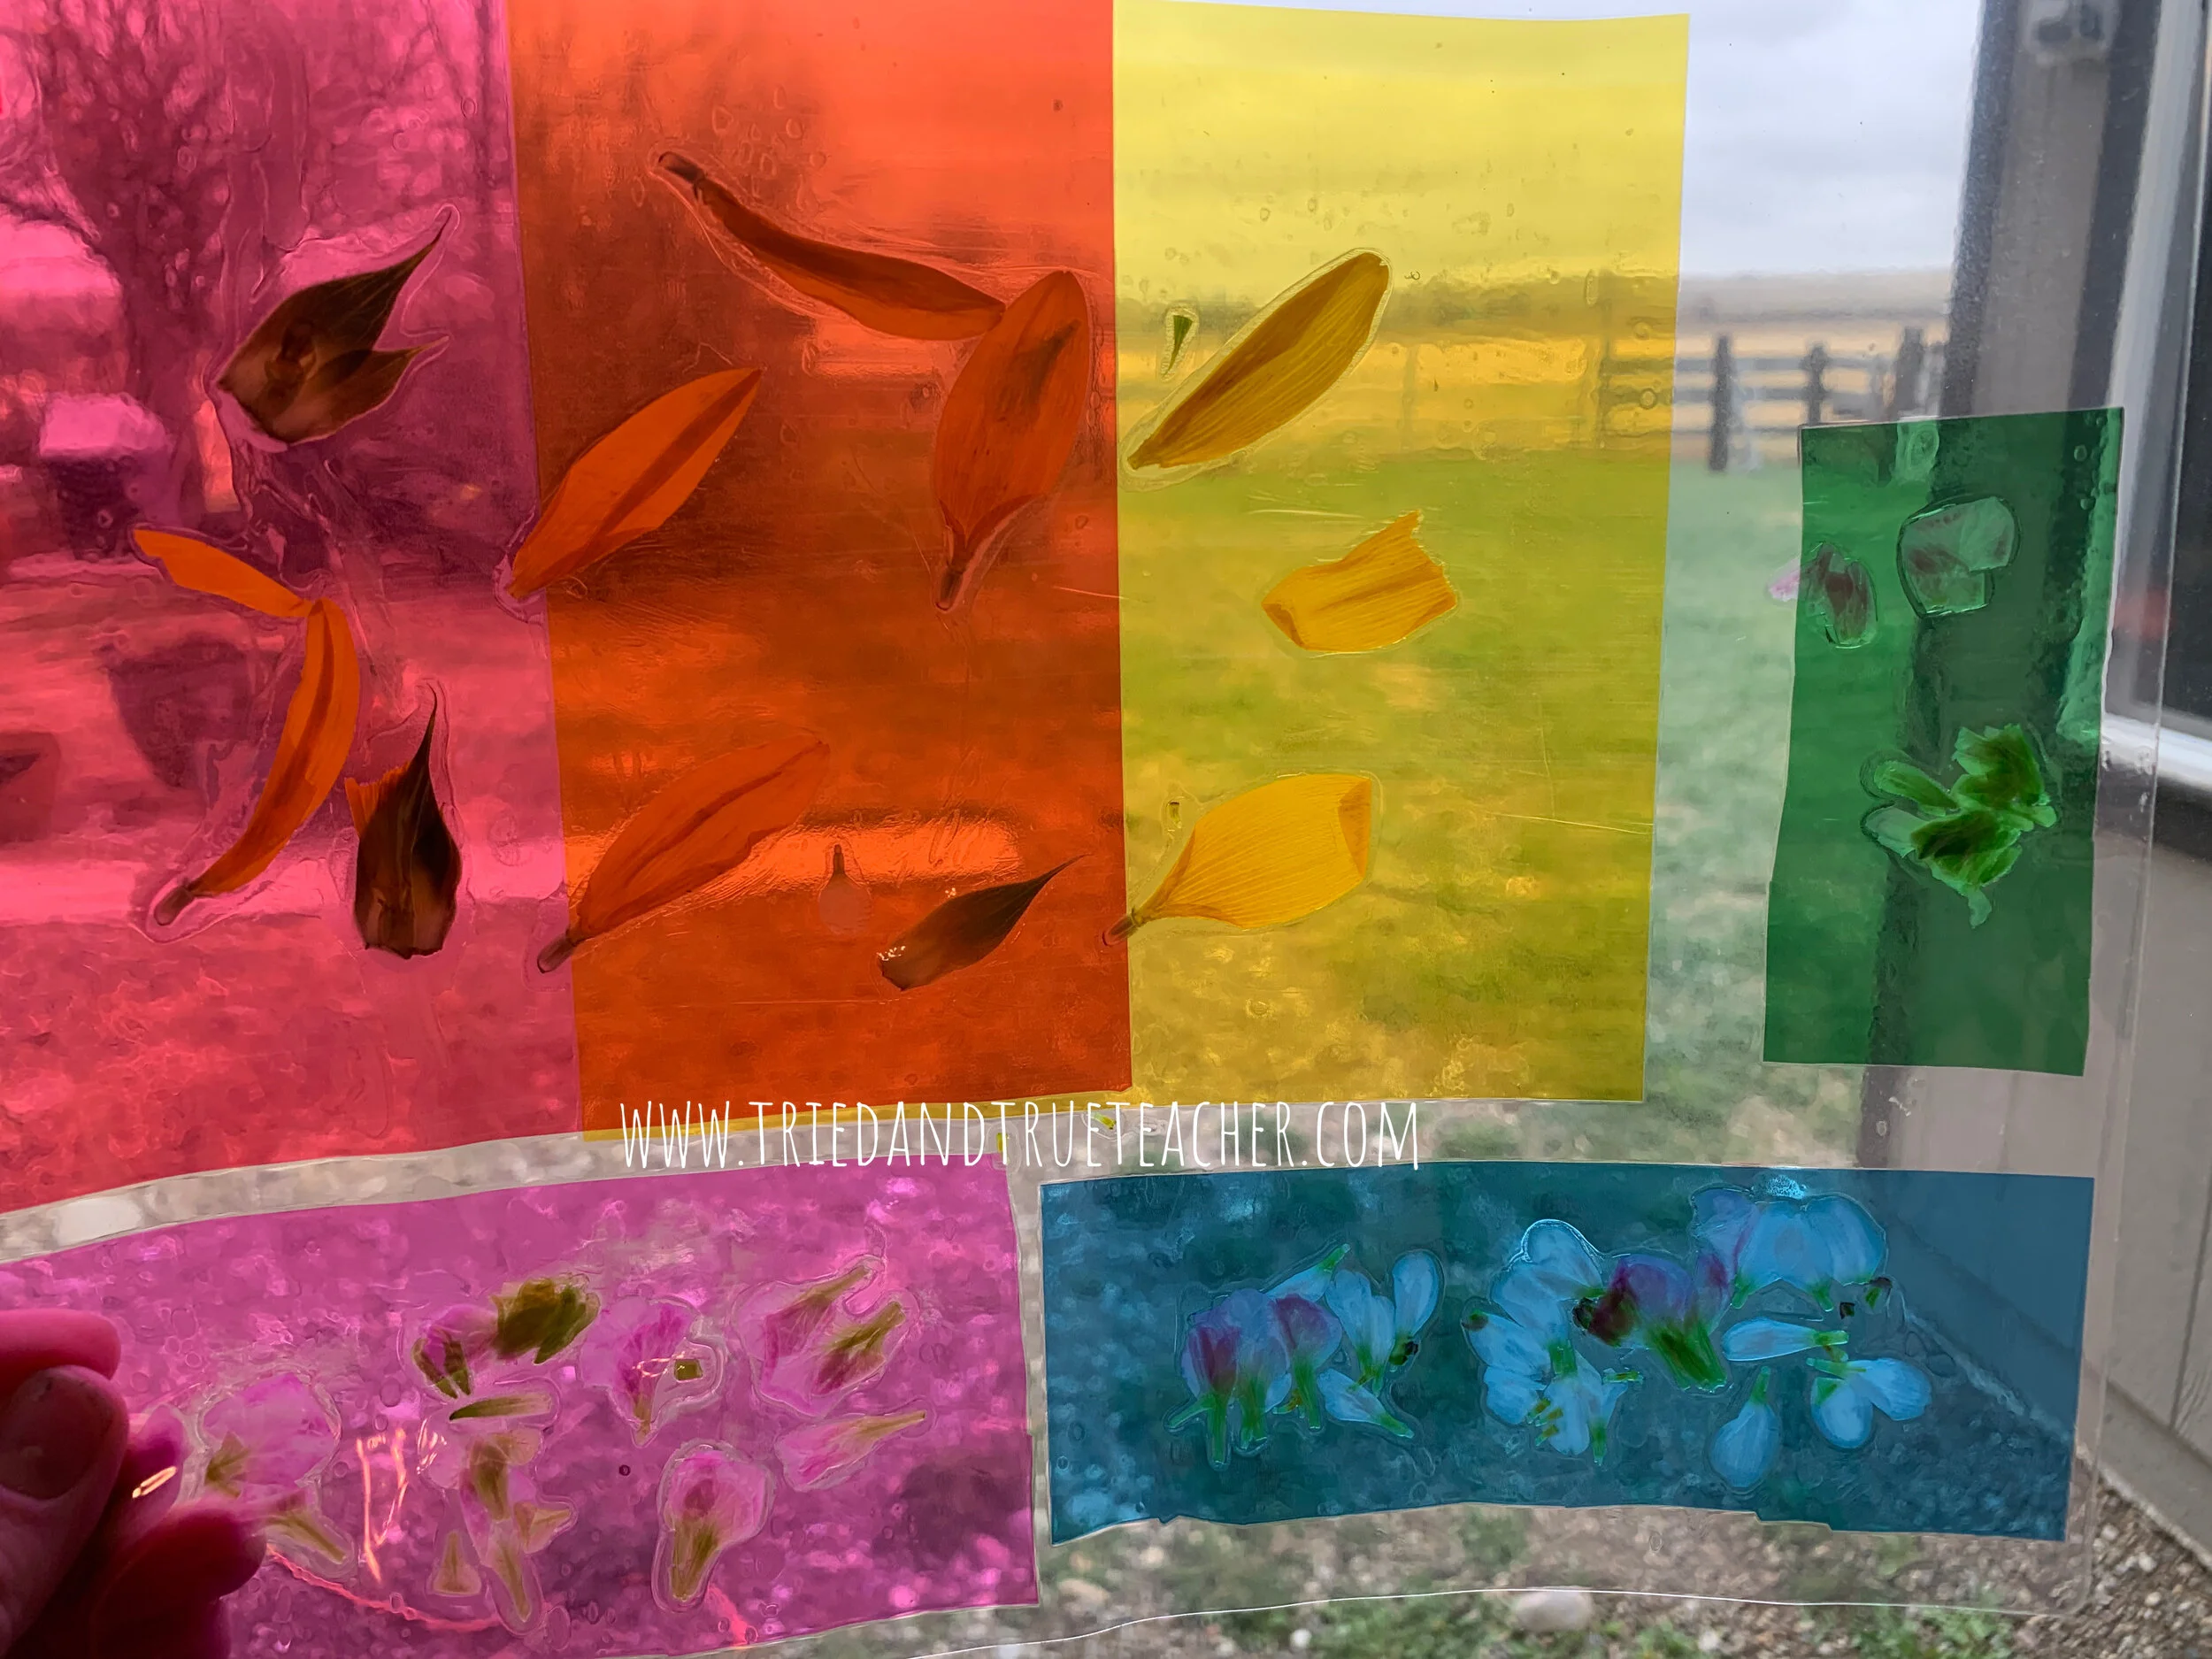
I mean, is it just me - or can you almost taste that rainbow? 😂
Who am I kidding, those colors are better than skittles…
BEAUTIFUL (and they don’t make my pants too tight.😉)
EVERYONE WINS 👉🏻👆🏾👇🏼👈🏿👆🏽👇🏿👉🏽
with these DIY rainbow light table slides…
DIY light table fun, at it’s finest, people…
✨SO SIMPLE.
✨SO ENTERTAINING.
So many possibilities for kids to be creative.
Wait, what?
Oh, you want to know more about the light table rocks?

Of course, you do. 💥
THEY ARE EVERYTHING YOU THINK THEY ARE, and so much more…

I’m not kidding, L👀K AT THEM - EVEN WITHOUT A LIGHT TABLE!
I WANT TO EAT THEM.
(Maybe I’m just hungry?) 😂
They look like... perfect… little… candy-gem… light-table-activity TREASURES… Amiright? 👊🏽
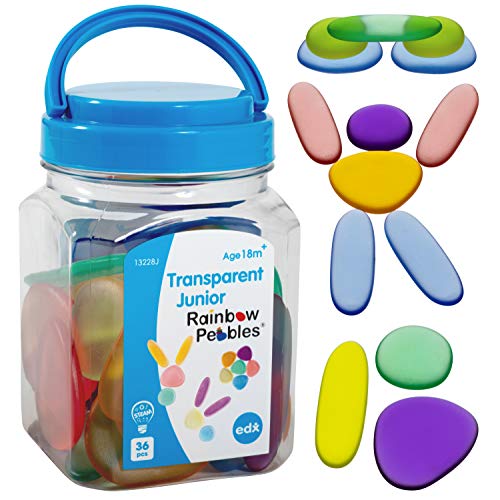
Look no further!!!!
These loose parts play, transparent, pebbles will be A HIT!!!
(No matter who’s playing on your light table.)
Even you! You’re gonna love them!
💚💚💚💚💚
Photos to Inspire You!
Here are some more photos of the fun light table play slides so you can be inspired to create your own.
This is a light table activity YOU CAN TOTALLY MAKE AT HOME!


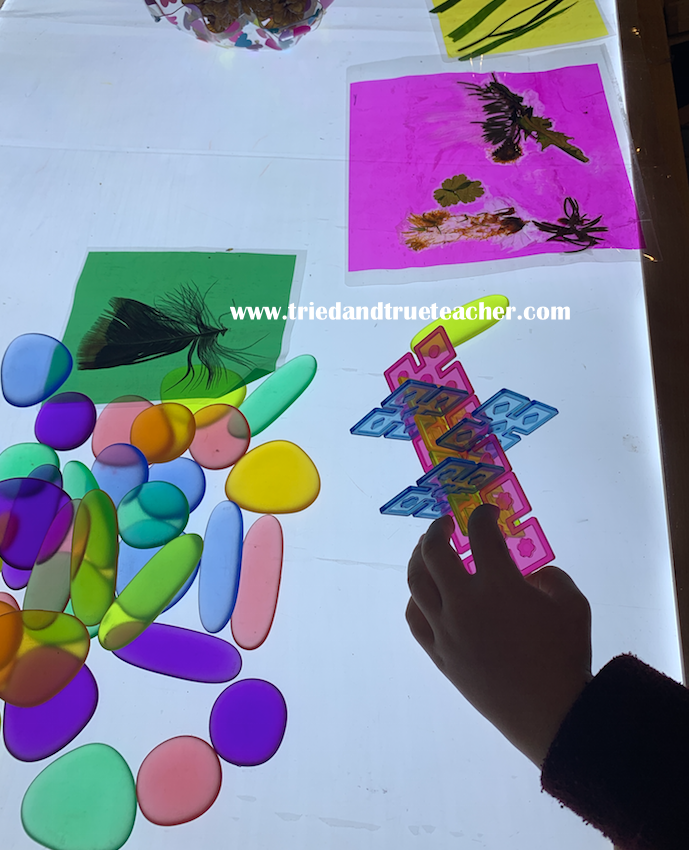
What was that?
You want to know more about the light table connectors in that photo? 👆🏾👆🏼👆🏿👆🏻
Well, absolutely… here they are:

You have good taste. 👌🏻👌🏿👌🏽
They are from Guidecraft…
AND THEY ARE MAGICAL. ⚡⚡⚡
I’m SERIOUS…
They are one of the most versatile light table toys I’ve ever come across…

Here is why I mention it…
They allow kids to build high structures that can hold ANYTHING!
(Animals, people, Legos, pom-poms, LITERALLY ANYTHING they might want to play with!)
In other words, THESE BLOCKS make toys that wouldn’t usually be very fun on a light table — fun on the light table!!!
The blocks glow so much in the light, that it’s still fun to put things on them, even if it’s something that’s not transparent.
👆🏽👆🏿👆🏼👆🏾 🙀 (WOOOO-HOOO!!!)
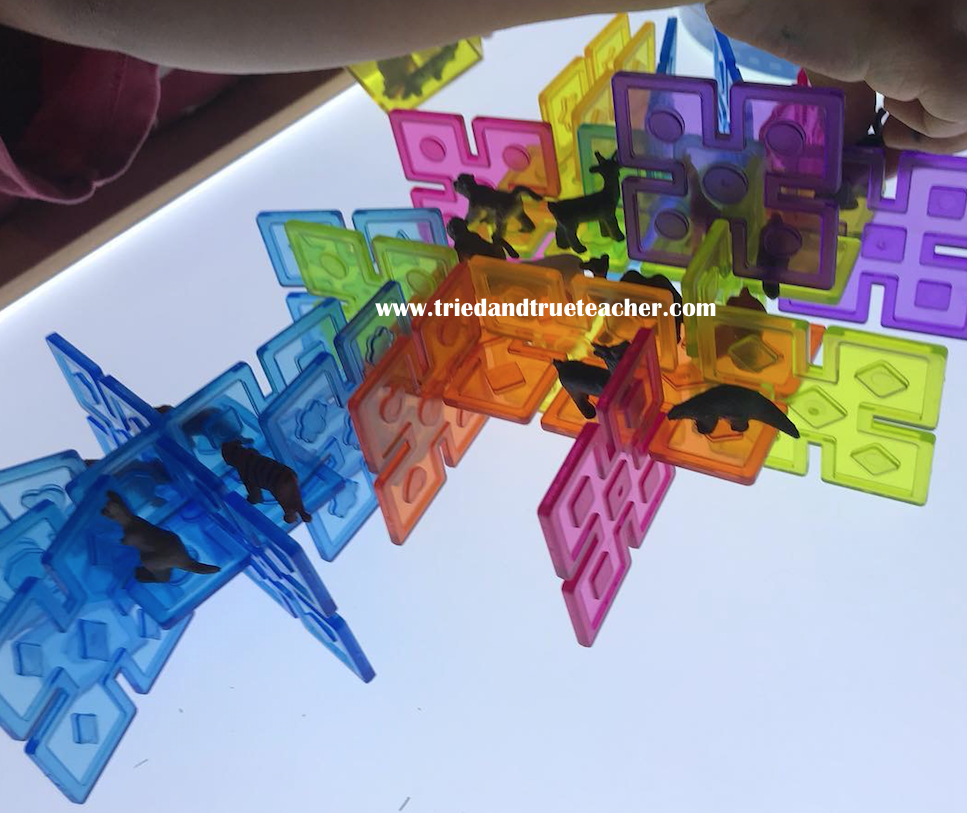
See what I mean?
We added little animals that would have been pretty LAME 😼 on the light table, without the Guidecraft blocks!
BUT WITH THE BLOCKS, they are AWESOME. 💃🏾💃🏻💃🏽💃🏼
AND, connecting these blocks is a great fine motor activity.
Kids will be practicing fine motor skills by manipulating and figuring out how to connect the blocks so they can build fun structures that come to life on the light table!
Should I DIY the light table, too?
GOOD QUESTION.
I suppose it’s time to give away all the goods and reveal the light table we use today…
THE BEST OF THE BEST LIGHT TABLE.
THE MOST DURABLE.
LIKE, YOUR-KIDS-CAN’T-BREAK-IT, DURABLE.
(SERIOUSLY, they can’t.)😎
It’s PERFECTLY CRAFTED.
(I don’t know why I’m yelling so much😂…)
BUT GUIDECRAFT’s light table is simply - the best of the best.
If you want to go big, this is the table for you.
But also, if you want to go smart- this is the table for you.
If you know the truth behind, “buy nice or buy twice”…
Then, THIS IS YOUR TABLE.
(They aren’t even paying me to say this!!!)
But if you’ve gone down the rabbit hole of “DIY LIGHT TABLE” inspiration on Pinterest…
You’ve probably thought to yourself,
“I can make an AWESOME light table. No problem… Looks easy! I just need a few things!”
😑
Stop. right. there.
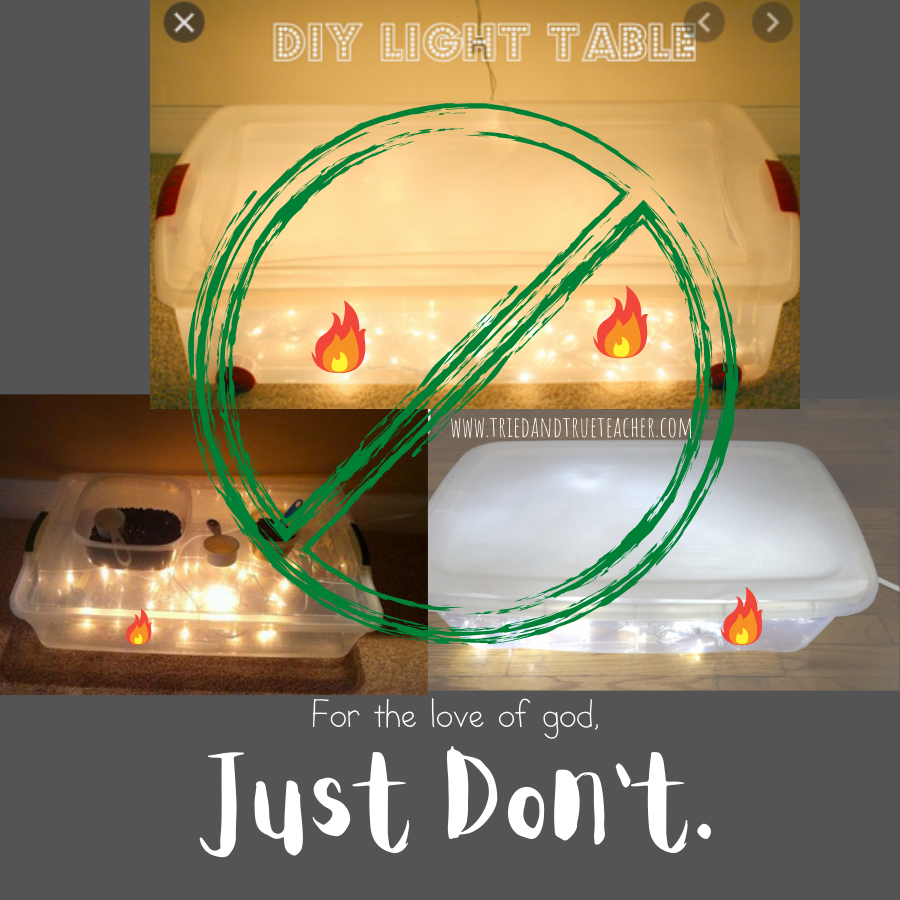
You know.
IF YOU’VE DONE IT, YOU KNOW. 😞
You know — that Christmas lights GET HOT…
You can’t just fill a clear tub with them and call it a light table!
NO SIR.
Your kids are going to be playing on a mediocre “light box.” 😏
(You really can’t even call those things a light table.)
AND YES, MEDIOCRE - it’s a fact, the light doesn’t have the same effect when there are little chunks of light instead of a full even spread… I’m sorry, but that’s the way it is!
COME ON, they can only play so long before, your impulsive DIY CREATION- GETS TOO HOT!!!!!! 🔥😳
(Don’t be THAT teacher/parent.)
YOU’RE BETTER THAN THAT.
GET A REAL LIGHT TABLE.
One that WORKS…and WORKS BEAUTIFULLY.
THAT YOUR KIDS WON’T RUIN, by leaning on the plastic lid too hard!😳
(YOU KNOW THEY ARE GOING TO LEAN ON IT!😫)
Yes, I’m talking to you, DIY-clear-storage-container-light-table-maker. 😧
I dare you, to spend a few extra dollars on the light table I’m talking about…
I DARE YOU!
Then, you’ll see.
You’ll know.
“Damn, she was right.”
(I’m not even saying it in bold, I don’t have to be flashy about it, YOU WILL JUST KNOW.)
You’ll get it.
And then, you can cross over to the dark side…
of paying for high quality light tables,
and I know you’ll never go back…
Someday, I bet you’ll even help me pass on the word.
Here, I’m including a link to make it easy for you!

Ok, but for real…
All jokes aside, I know there are some pretty LEGIT light tables that people have made themselves…
BUT, if they are LEGIT, that means, they spent some dollar dollar bills on it-even if they made it themselves.
If you’re going to spend the money…
GET THE ONE YOU CAN ALSO HANG ON THE WALL…
Easily❗❗❗❗❗
YOU GUYS, it’s totally mountable!!
IT COMES TO YOU -ALREADY ready for the day you don’t want it to be a table anymore…
And it’s ready to be a LIGHT BOARD ON THE WALL.
BAM.

Oh but wait, I forgot—
GUESS WHAT?
I have been where you are!
I am not just up here on a high horse,
I’VE MADE THE DIY LIGHT TABLES…
I even upgraded the last one I made - with a fancy multicolored light strip that had 15 different color settings and a remote!!!!
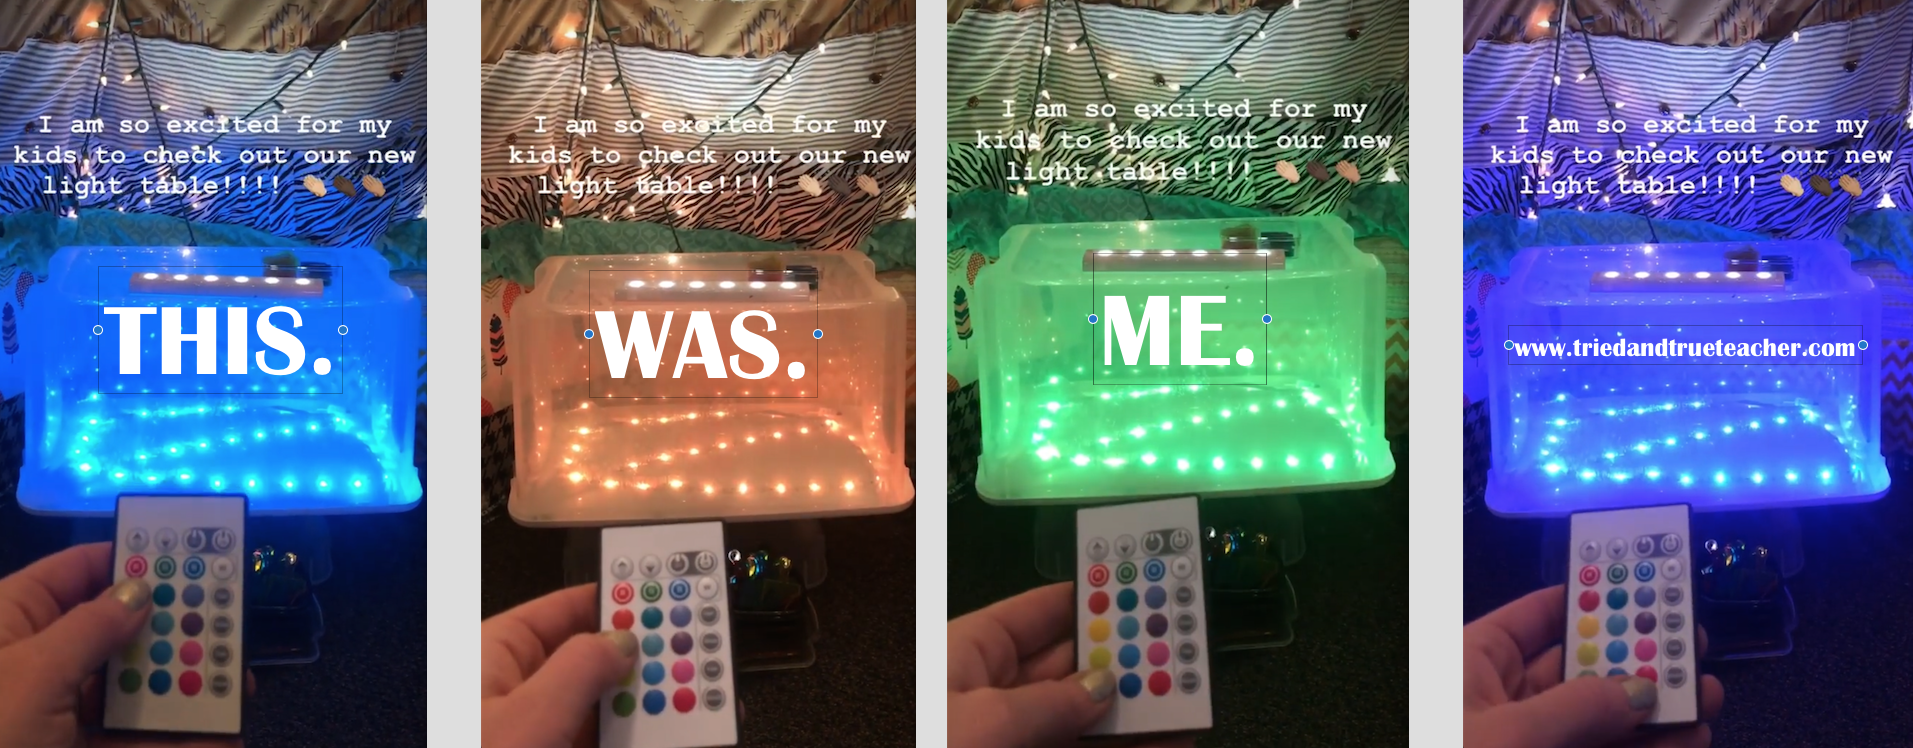
I was so excited to show the kids how to use the remote. 😂😂😂😂
Ughh, I’m over it - when you know better, you do better, right?
AND, the good news is…
IF THIS IS YOU… and you were going to go this route…
Don’t PANIC!
You can TOTALLY re-purpose that fancy light strip - cha ching!!!
HOW?
EASY…
Use it for THAT STEP that everyone trips on when they come in your laundry room!!!
That’s WHAT I DID!!!! 😁
🌟LIGHT IT UP, BABY.🌟
No more tripping elderly folk in your entry way!
Because NOW, they can see that hidden step…
Wait, what?
oh…
It’s just me? 😐
Damn.
…Well, I’m sure you’ll find something fun to do with them.

I mean seriously… can your “light box” do THIS? 👇🏻👇🏿👇🏽

8 KIDS?
WORKING NICELY, in such close proximity??
IT’S A FINE MOTOR DREAM.
( PINCH)
… You’re not dreaming.

…AND THEN, with one little piece of equipment…